 I couldn't let summer fade away without posting about Melrose Peppers, a local variety of peppers that are at their peak right now. Back when I started my blog three years ago I think my second post was about Melrose Peppers, since then I have gotten numerous emails from fellow and former Chicagoans expressing their love for this humble pepper, just a couple of days ago I received this touching email from a man who pretty much sums up the feelings of so many regarding this delectable pepper, my family included!
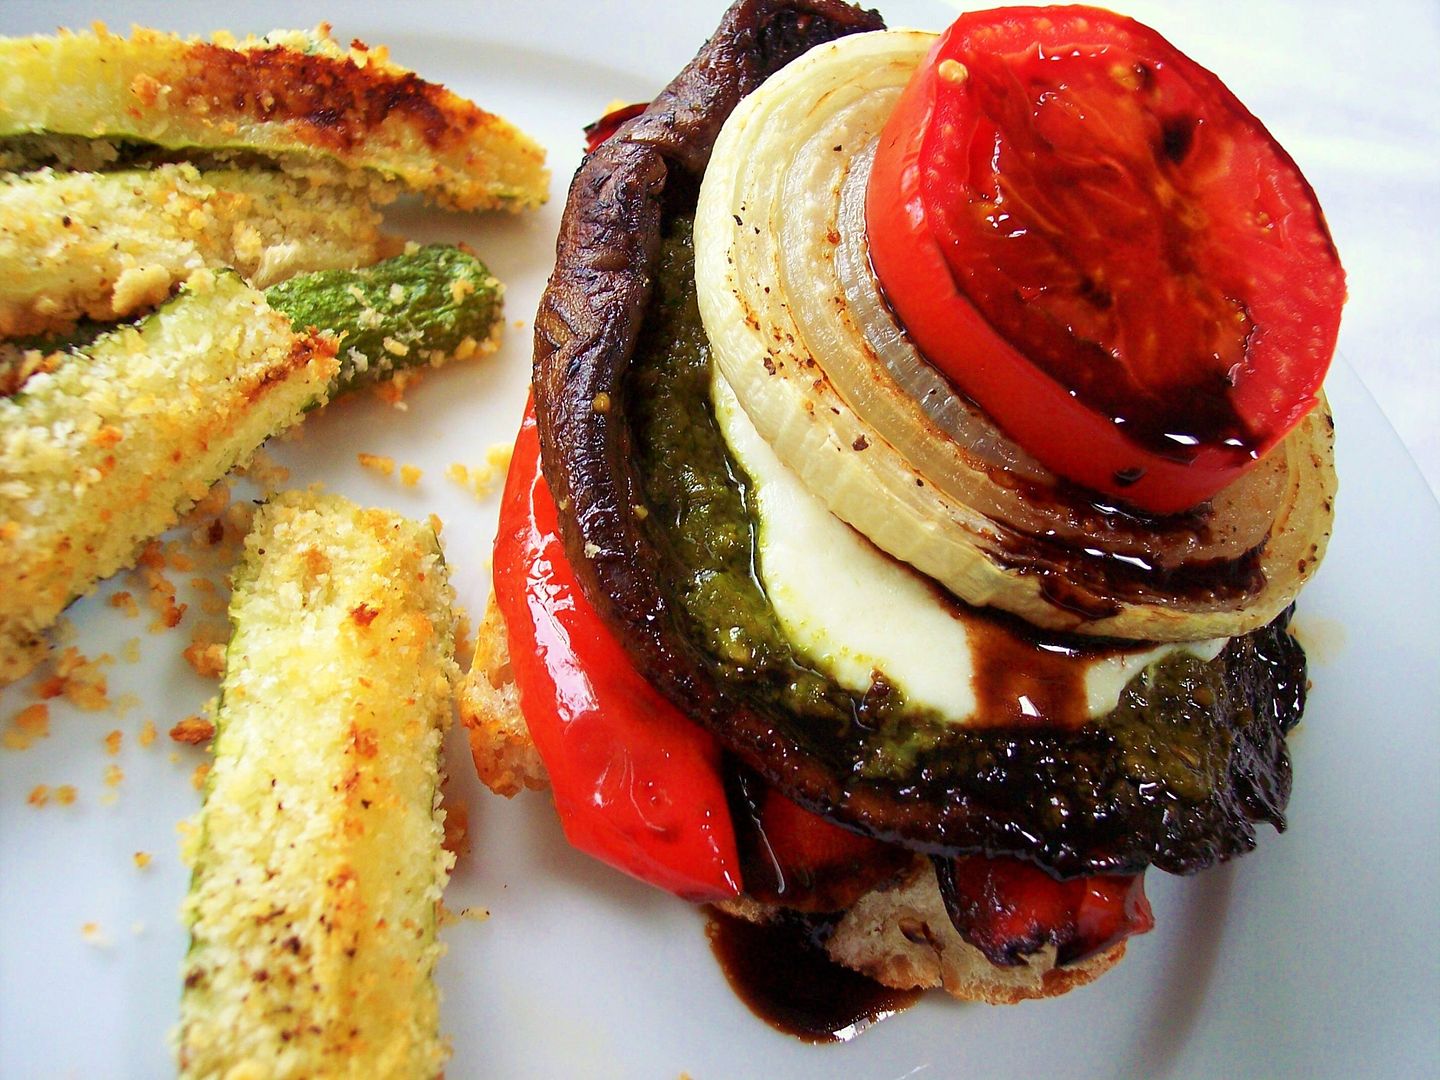
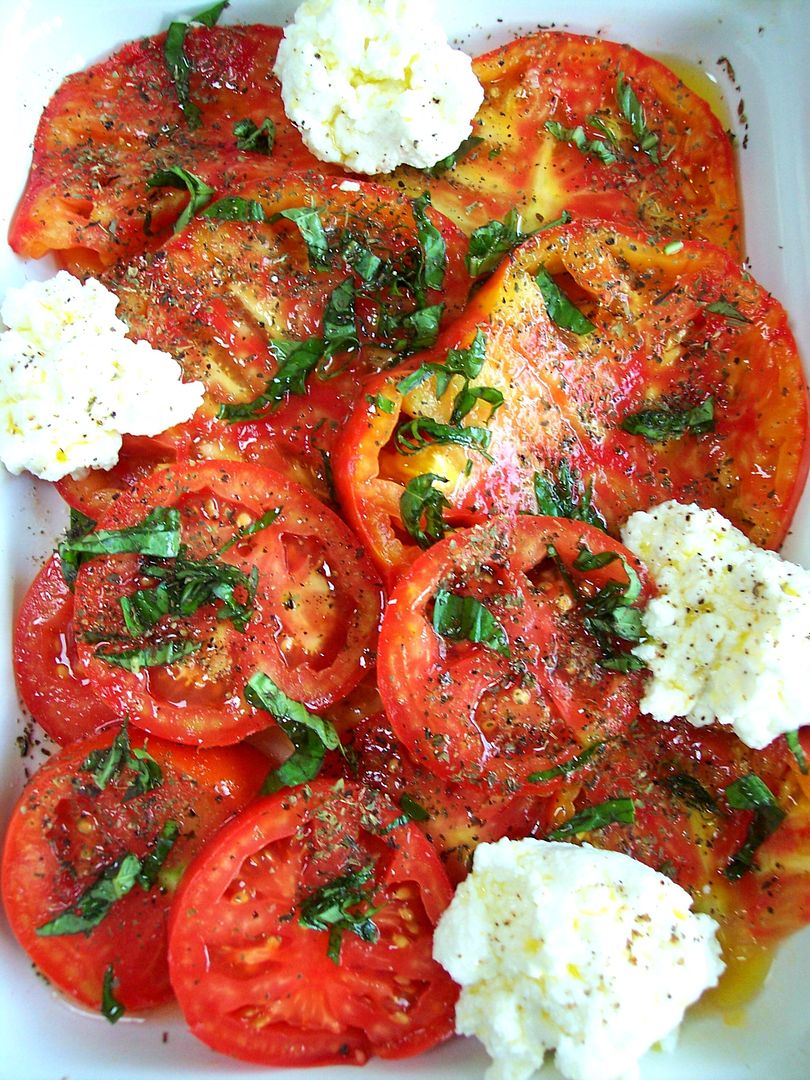
"Oh Memories of “Ma” Josephine Selefski I have been having a craving for a few weeks now. Quietly searching and coming up empty. Feeling waves of anticipation, Similar to planning a wedding, birth of a child, your 21st birthday …Alas today. Today was the day! I found at the local grocery store “Melrose” peppers. Fresh succulent vine ripened tomatoes, fresh, still warm crispy crusty bread.
Sharp provolone cheese and pan oil roasted Melrose peppers, topped with a drizzle of vinegar and oil with Italian seasoning.Those of you who know the deliciousness … be aware the peppers are in season. As for those who don’t … I have to say my vocabulary is not large enough to explain. Think perhaps mouth- gasms. Ma turned this then young Polish kid into a Melrose pepper eating machine.
As I tore into this wonderful Sandwich, all I could do was close my eyes, savor the flavor and bow my head in thanks for that sweet woman that created so many great memories and introduced me to these flavors.
Thanks Ma, God bless you and keep you in his heart."
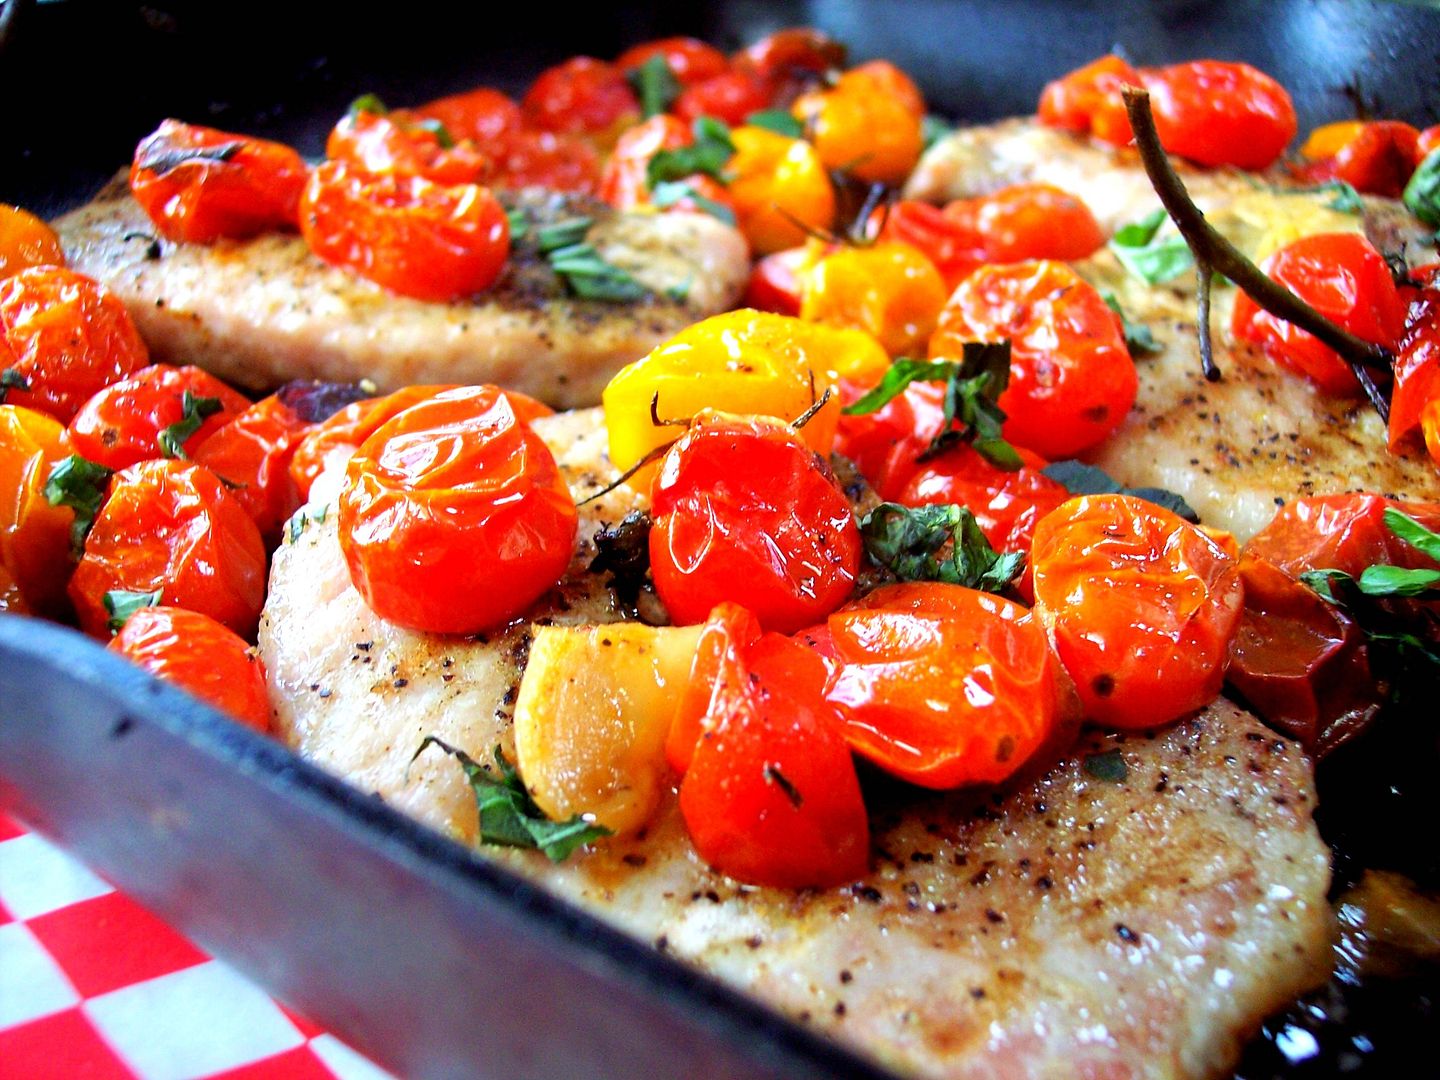
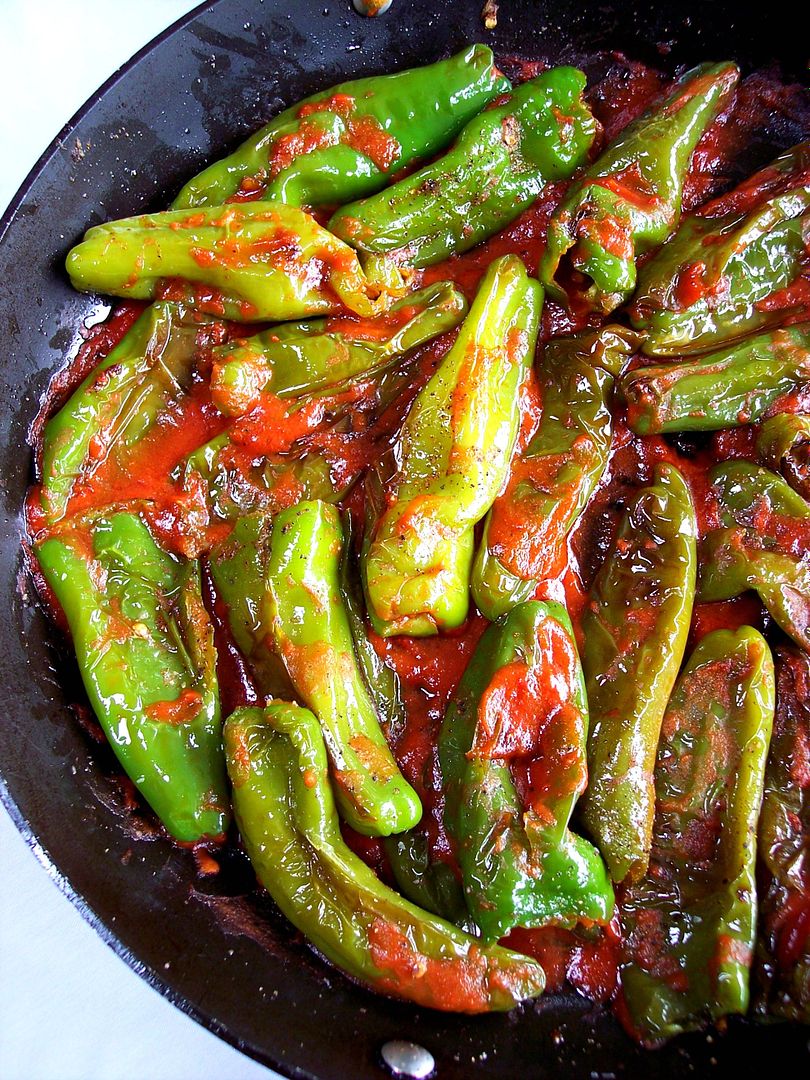
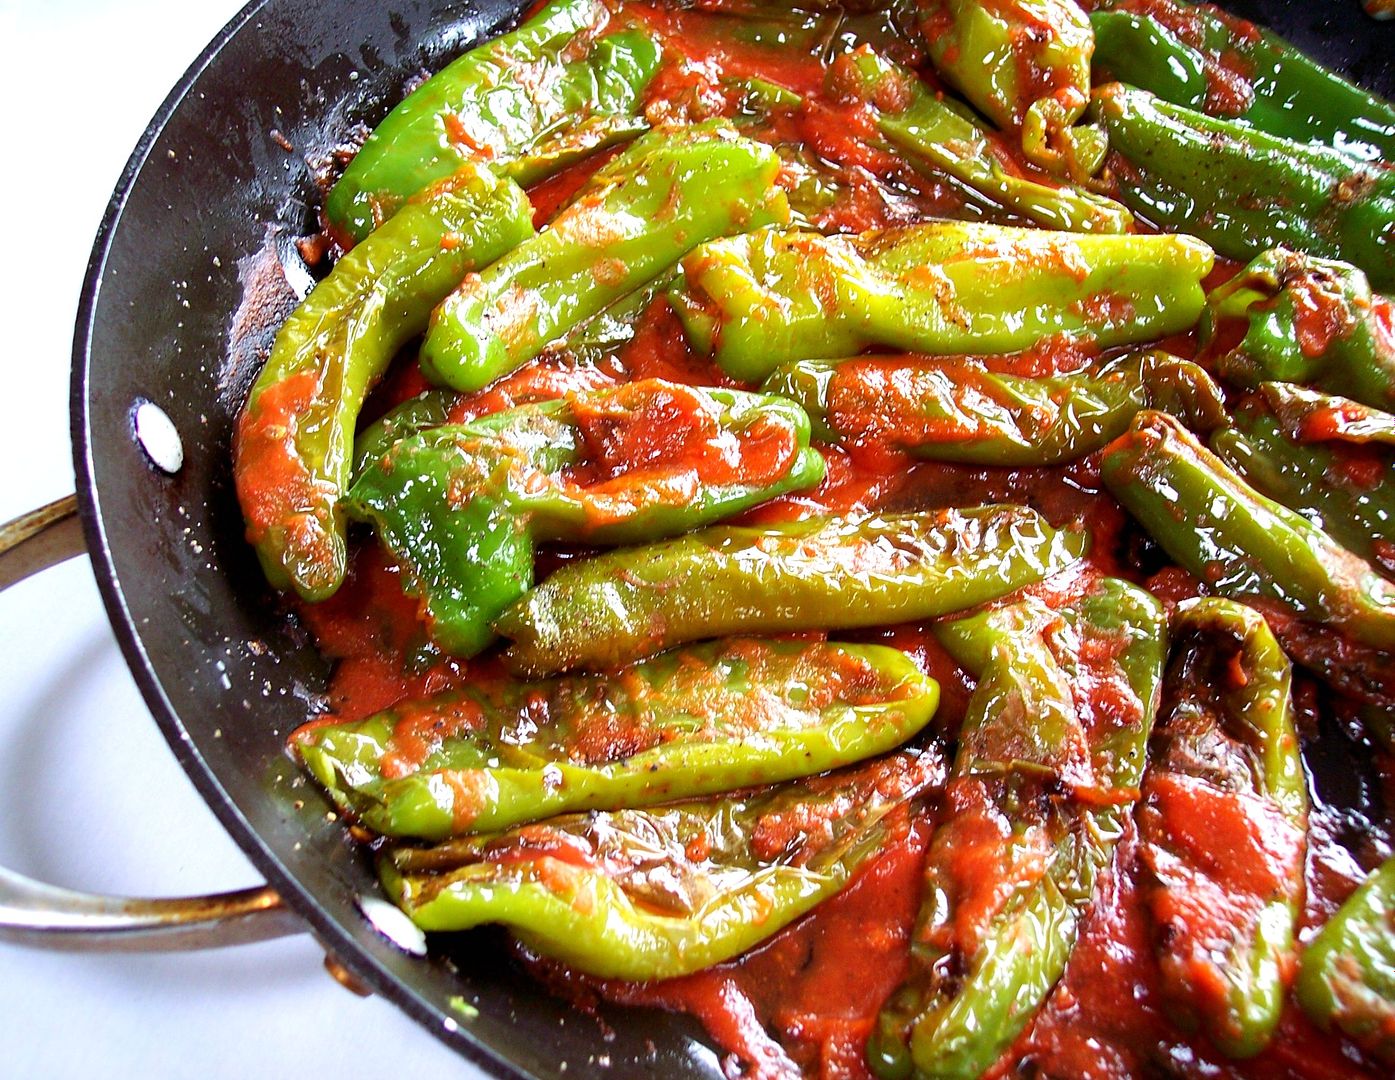
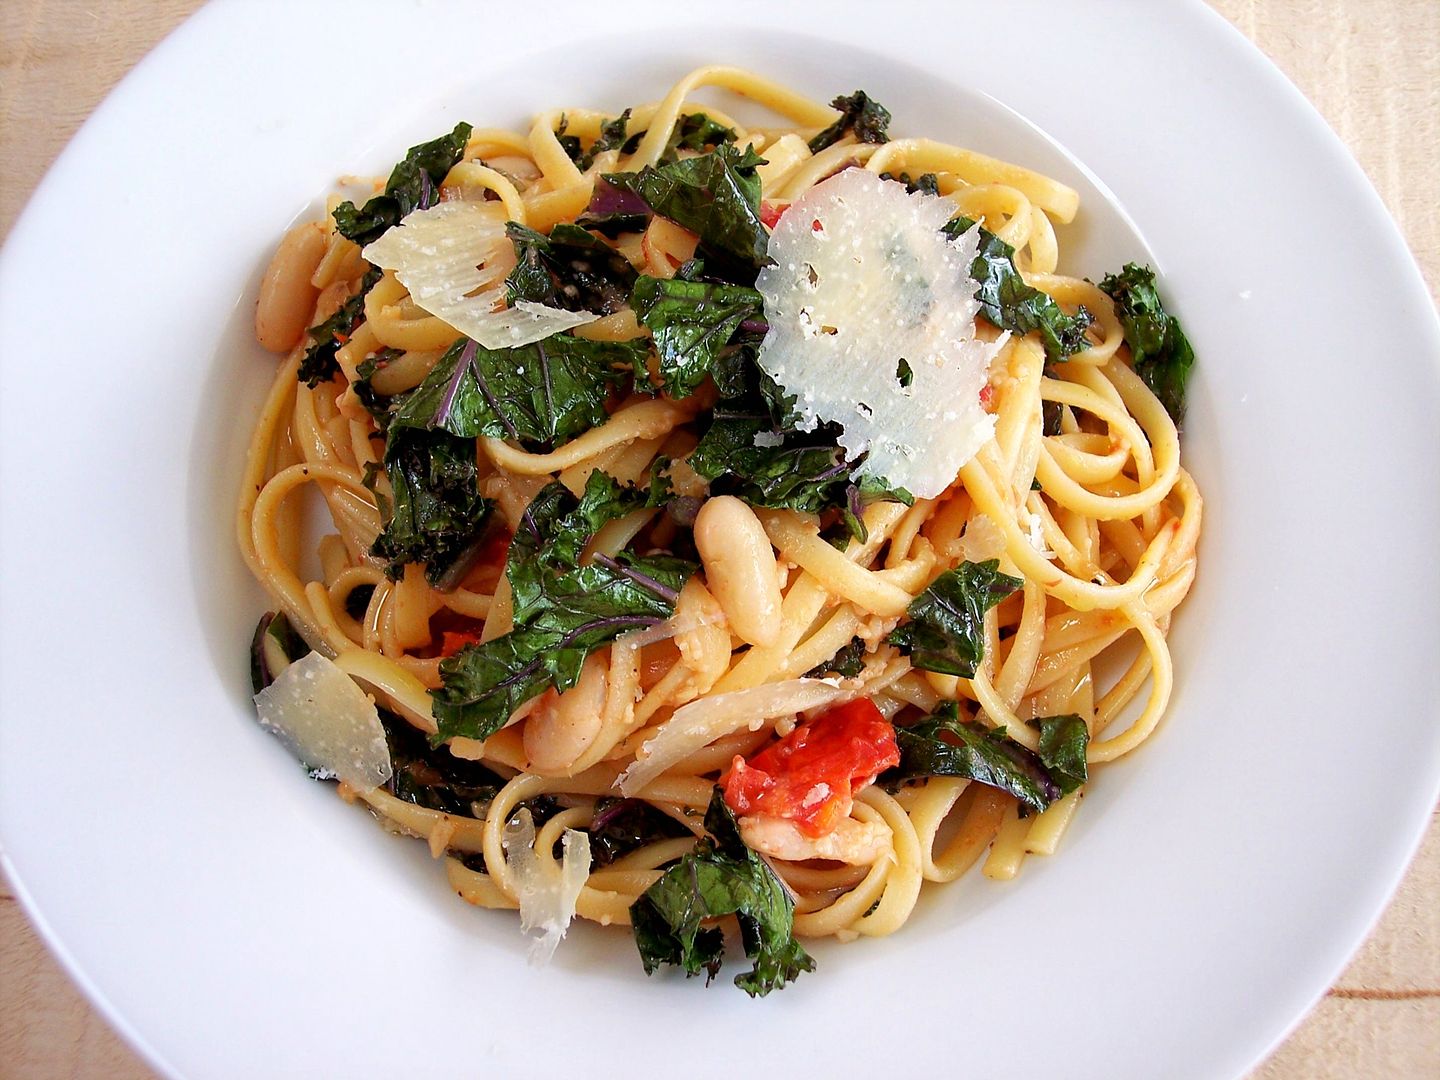
Everyone has their own special way of making and preparing them that is near and dear to their hearts, my husband loves them simply sauteed in olive oil with a little red sauce added, he will make a whole meal out of them with some good crusty bread and a few hunks of provolone cheese!
 On how they originated here the story goes like this, an Italian family immigrated to Melrose Pk, Il, which is a western suburb of Chicago, they brought with them the seeds of these tender and sweet thin skinned peppers.
They quickly became very popular among gardeners in the Italian community and then a local and very well loved fruit and vegetable market started selling them and made them extremely well known, and the rest is history!
 Sometimes I like to change it up and stuff them, even though it's time consuming it's so worth it!
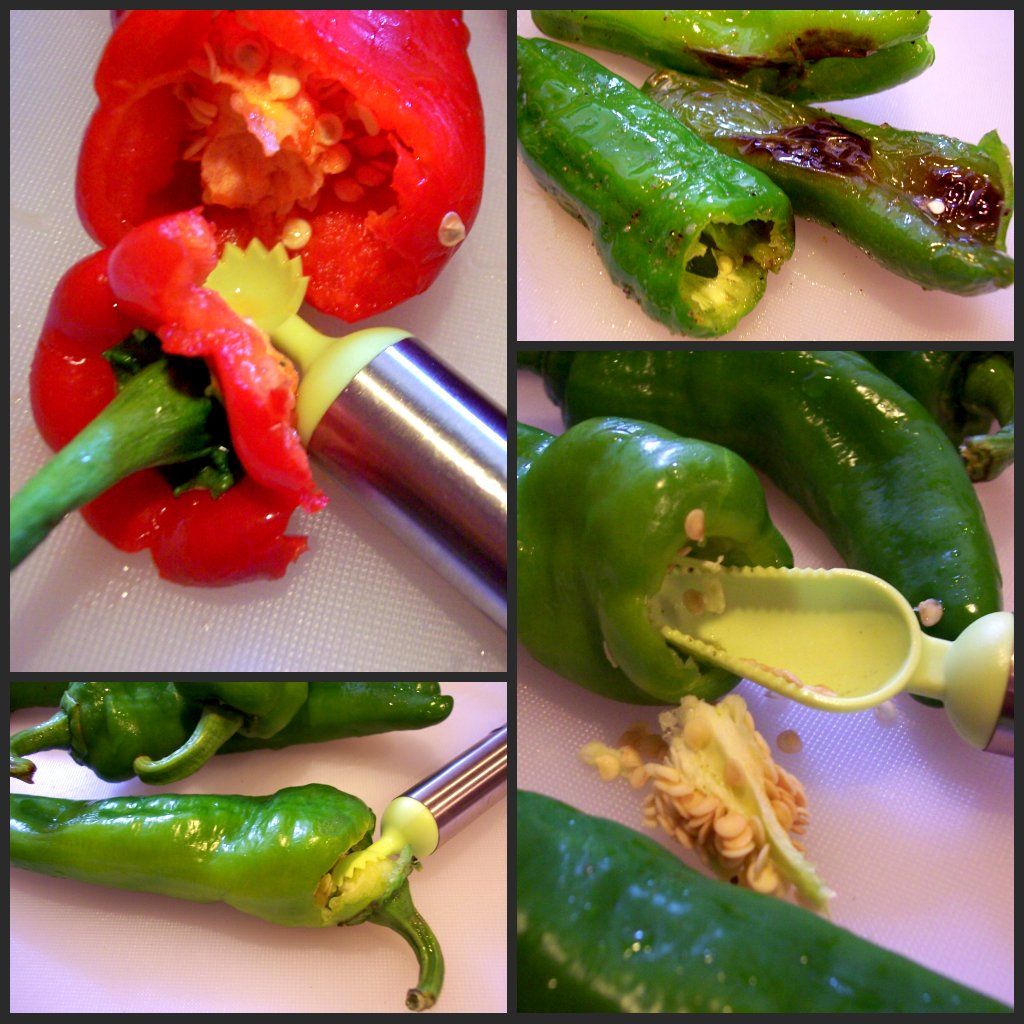
 But ever since I discovered this seed and stem remover it's made my life alot easier, it's my new favorite gadget and I only payed $4.00 for it! Not only does it do a great job seeding and coring peppers, I use it to clean out the gills from portobello mushrooms, also great for seeding cucumbers and tomatoes and steming strawberries.
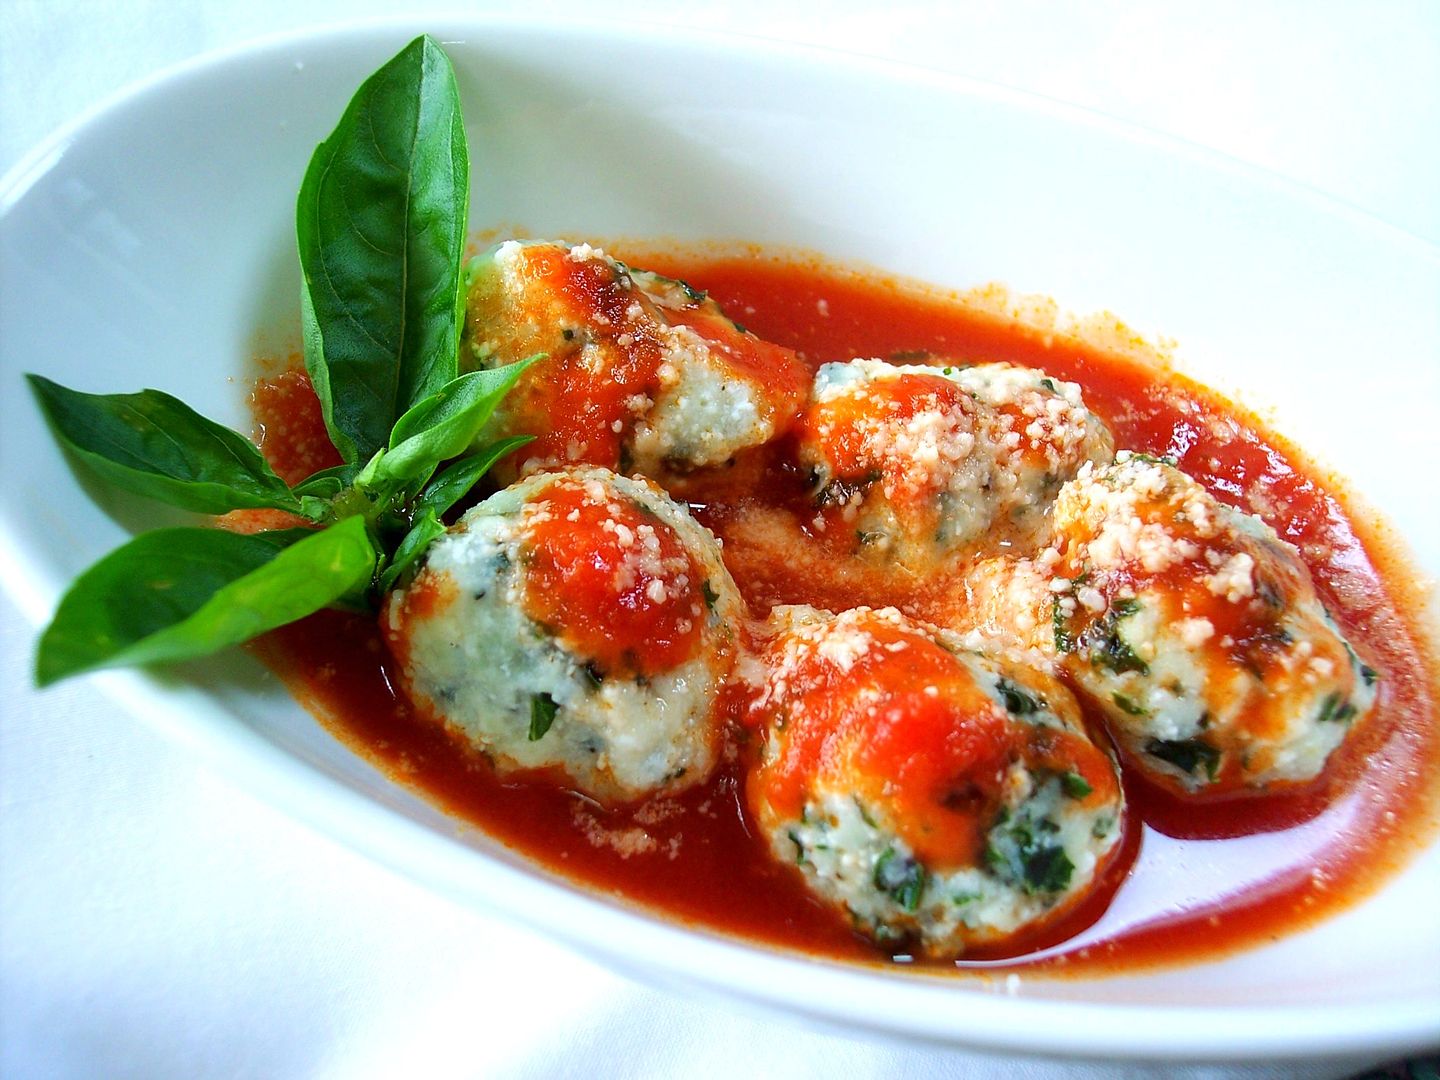
 There are many ways to stuff Melrose Peppers, in the past I've used Italian sausage and fontina cheese, in this case I used Italian sausage as well as a mixture of ricotta, mozzarella, grated romano cheese, eggs and basil. I usually alternate between the cheese mixture and the sausage as I'm stuffing the pepper. I like to use a zip lock bag with the tip cut off for ease in doing the ricotta mixture, also a quick saute of the peppers beforehand makes them easier to handle.
 Place them single layer in a baking dish with a light marinara sauce spooned over top , cover loosely with foil and bake at 375F until tender and the cheese and egg mixture is cooked through.

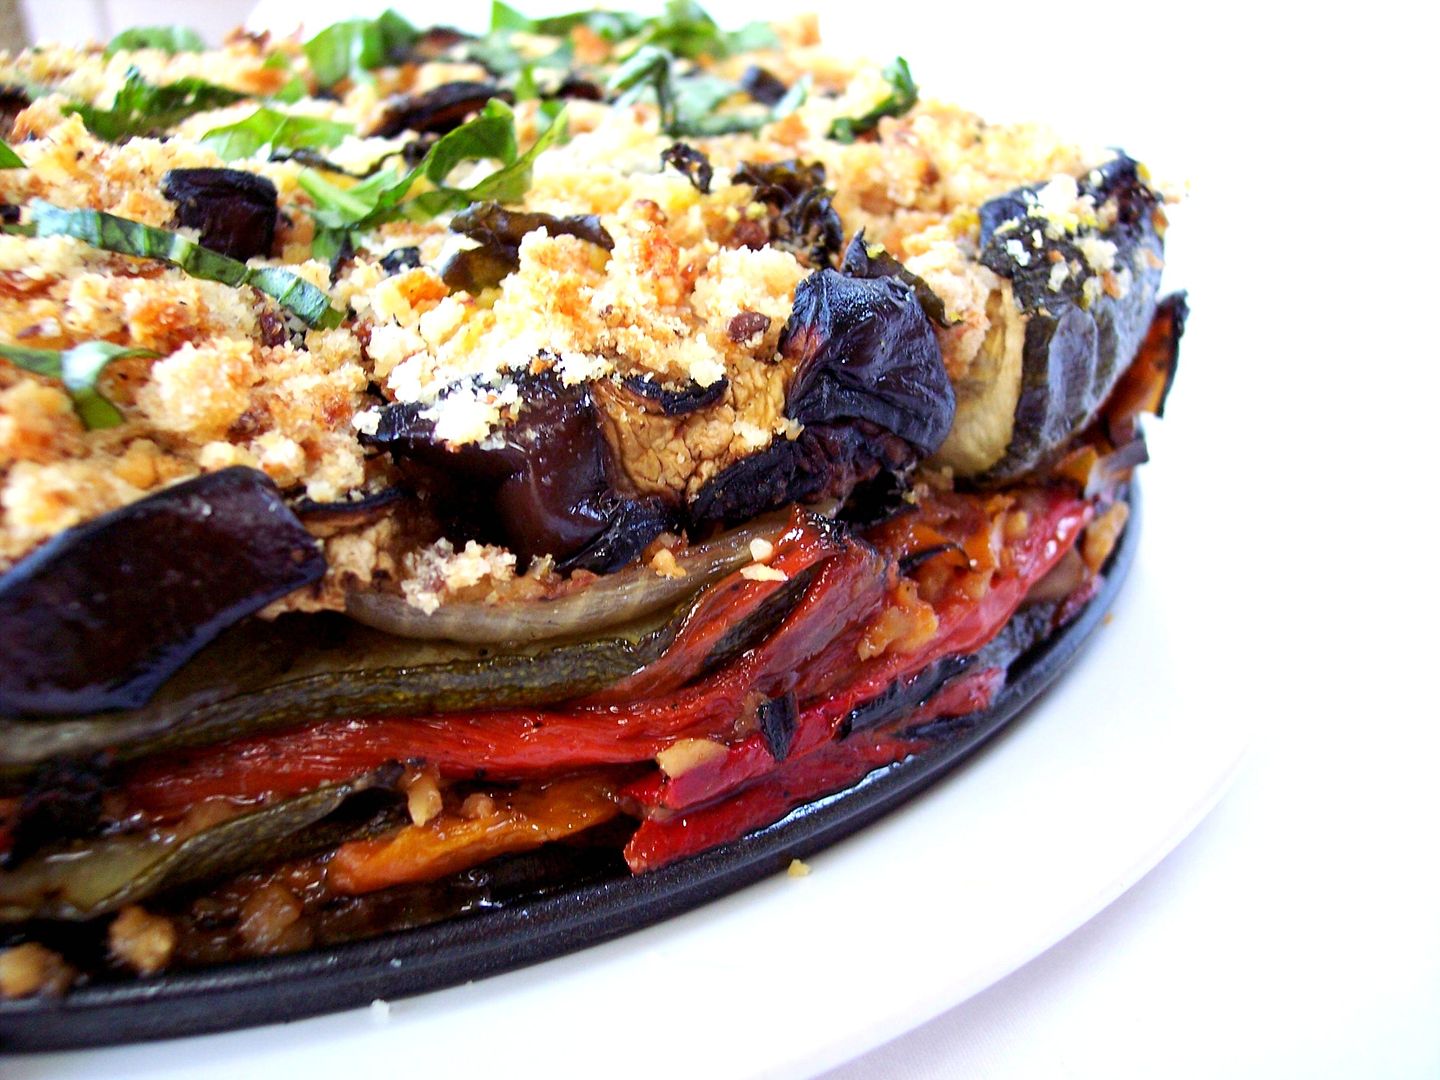
You might have come across this type of red pepper in your market sometimes refered to as Ancient Sweets red peppers, typically they are very long about 10 inches, since they're so big they're great for stuffing with whole pieces of sausage, nice and sweet and very tender similar to the Melrose Pepper.
 Sometimes I like to change it up and stuff them, even though it's time consuming it's so worth it!
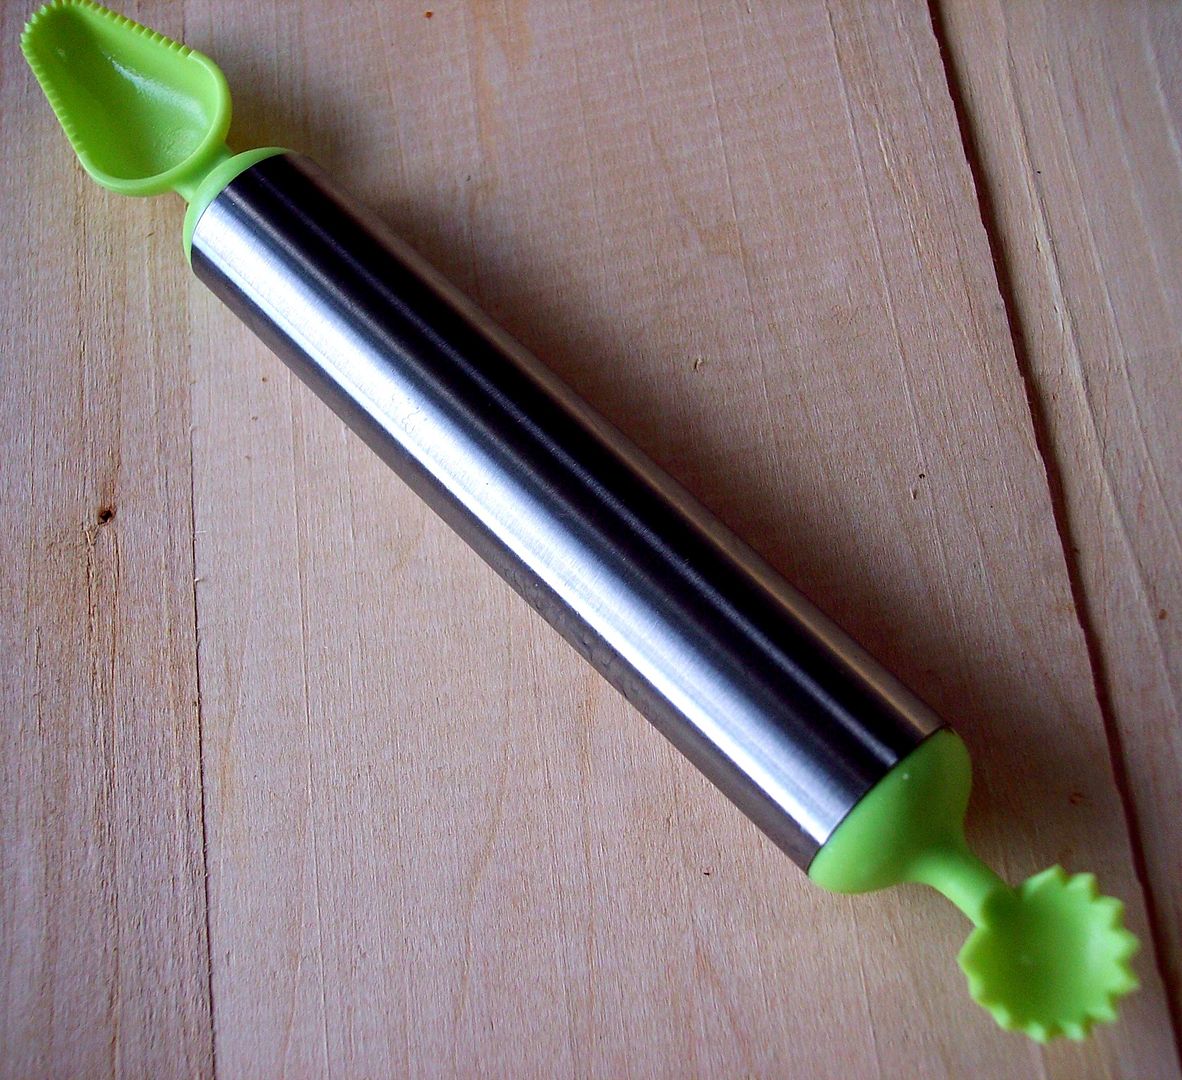 But ever since I discovered this seed and stem remover it's made my life alot easier, it's my new favorite gadget and I only payed $4.00 for it! Not only does it do a great job seeding and coring peppers, I use it to clean out the gills from portobello mushrooms, also great for seeding cucumbers and tomatoes and steming strawberries.
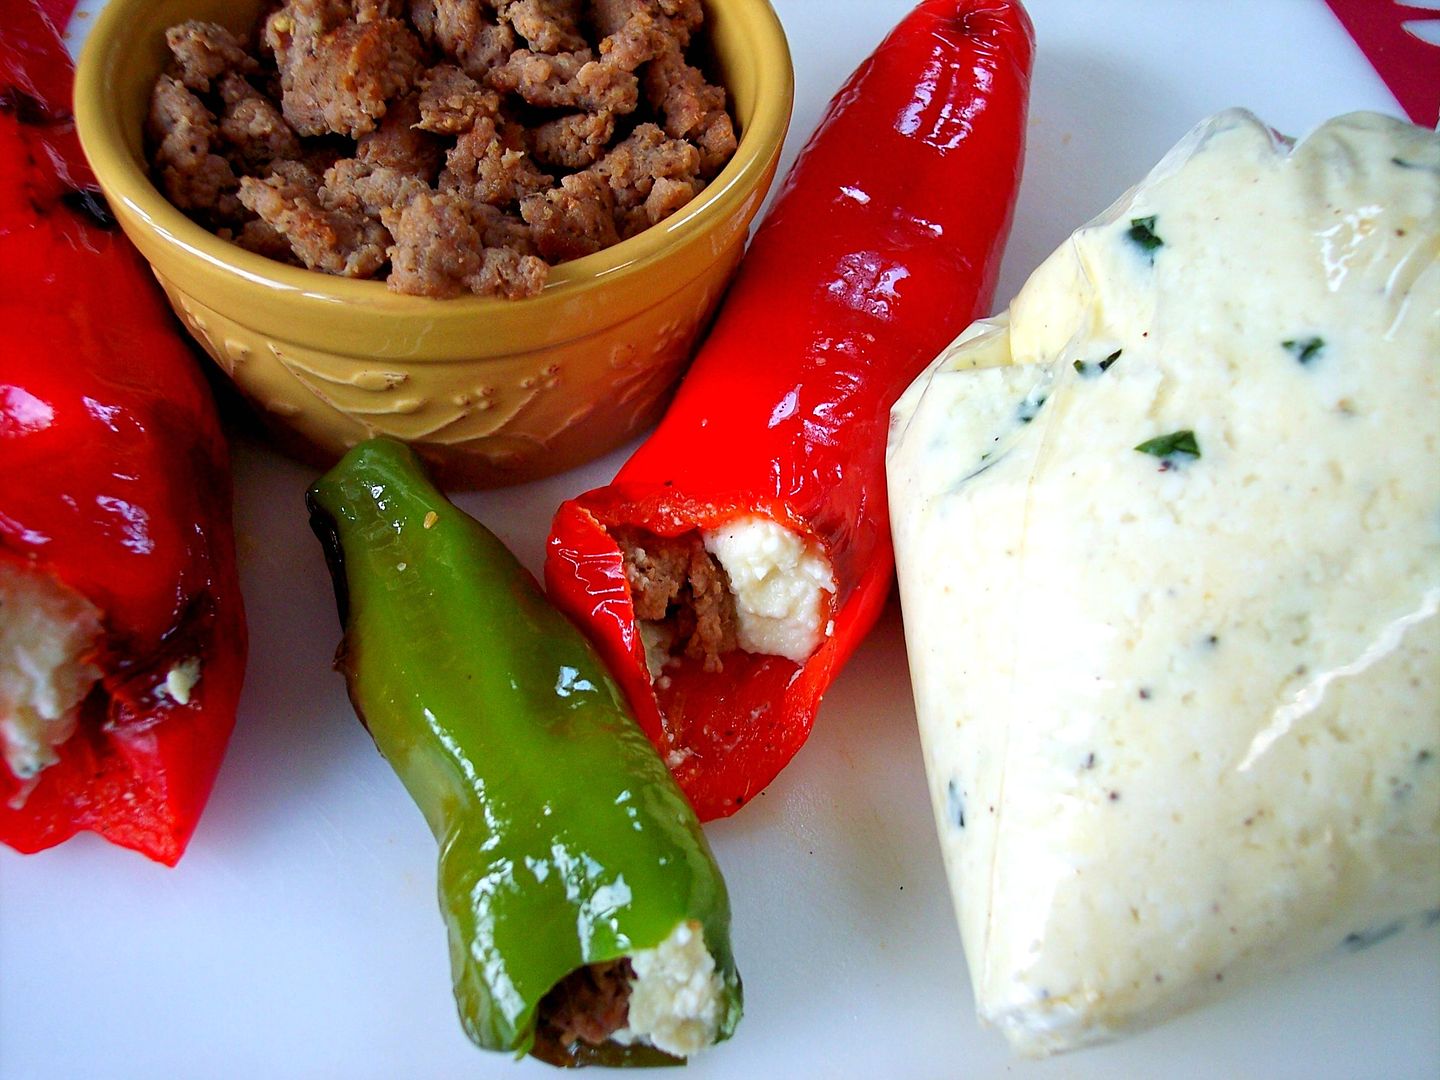 There are many ways to stuff Melrose Peppers, in the past I've used Italian sausage and fontina cheese, in this case I used Italian sausage as well as a mixture of ricotta, mozzarella, grated romano cheese, eggs and basil. I usually alternate between the cheese mixture and the sausage as I'm stuffing the pepper. I like to use a zip lock bag with the tip cut off for ease in doing the ricotta mixture, also a quick saute of the peppers beforehand makes them easier to handle.
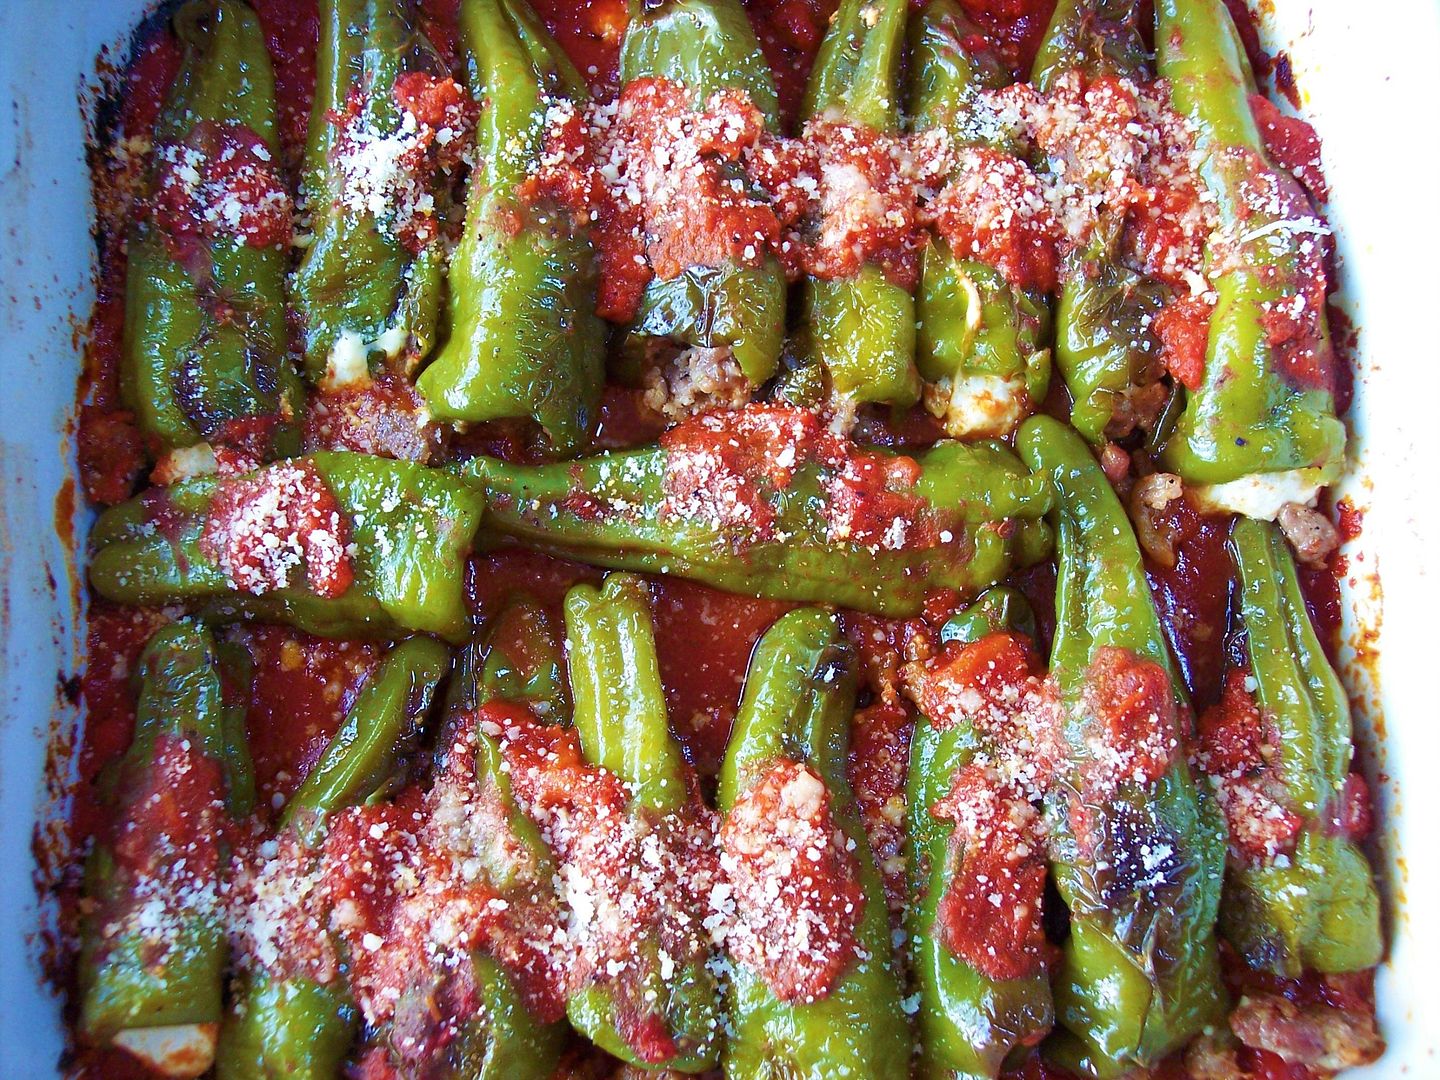 Place them single layer in a baking dish with a light marinara sauce spooned over top , cover loosely with foil and bake at 375F until tender and the cheese and egg mixture is cooked through.
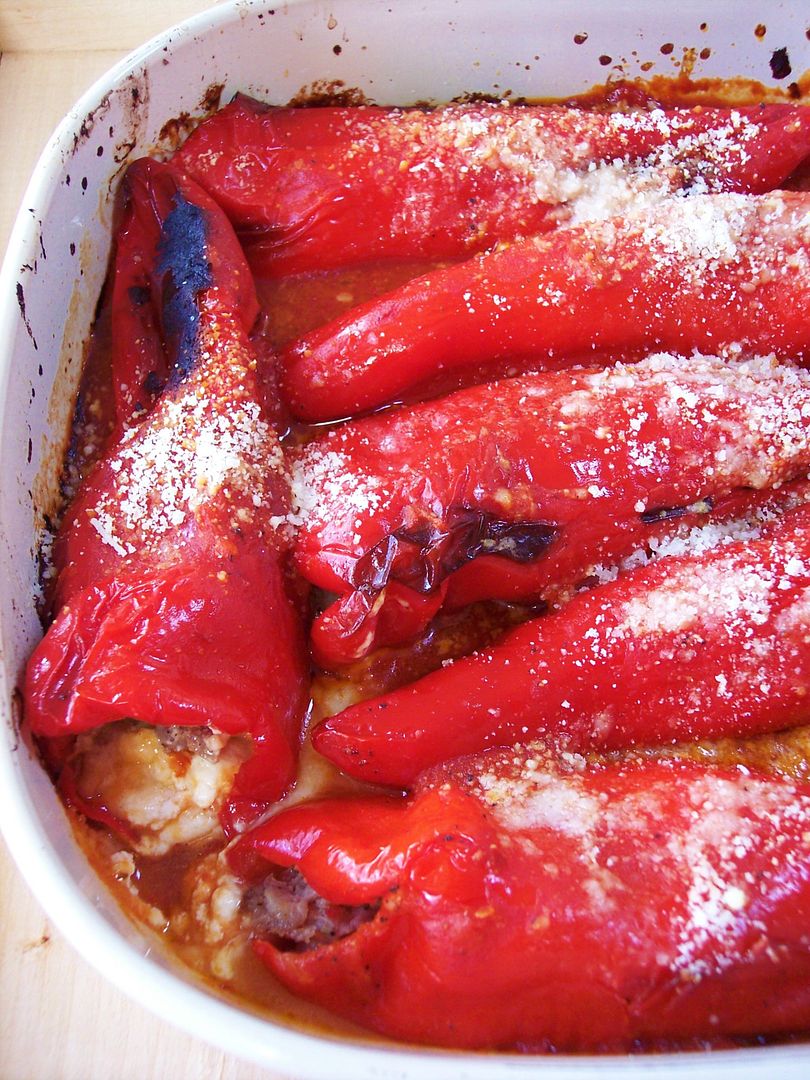
You might have come across this type of red pepper in your market sometimes refered to as Ancient Sweets red peppers, typically they are very long about 10 inches, since they're so big they're great for stuffing with whole pieces of sausage, nice and sweet and very tender similar to the Melrose Pepper.
Hope you're enjoying all the local and seasonal produce in your areas as summer winds down.
Buon Appetito!


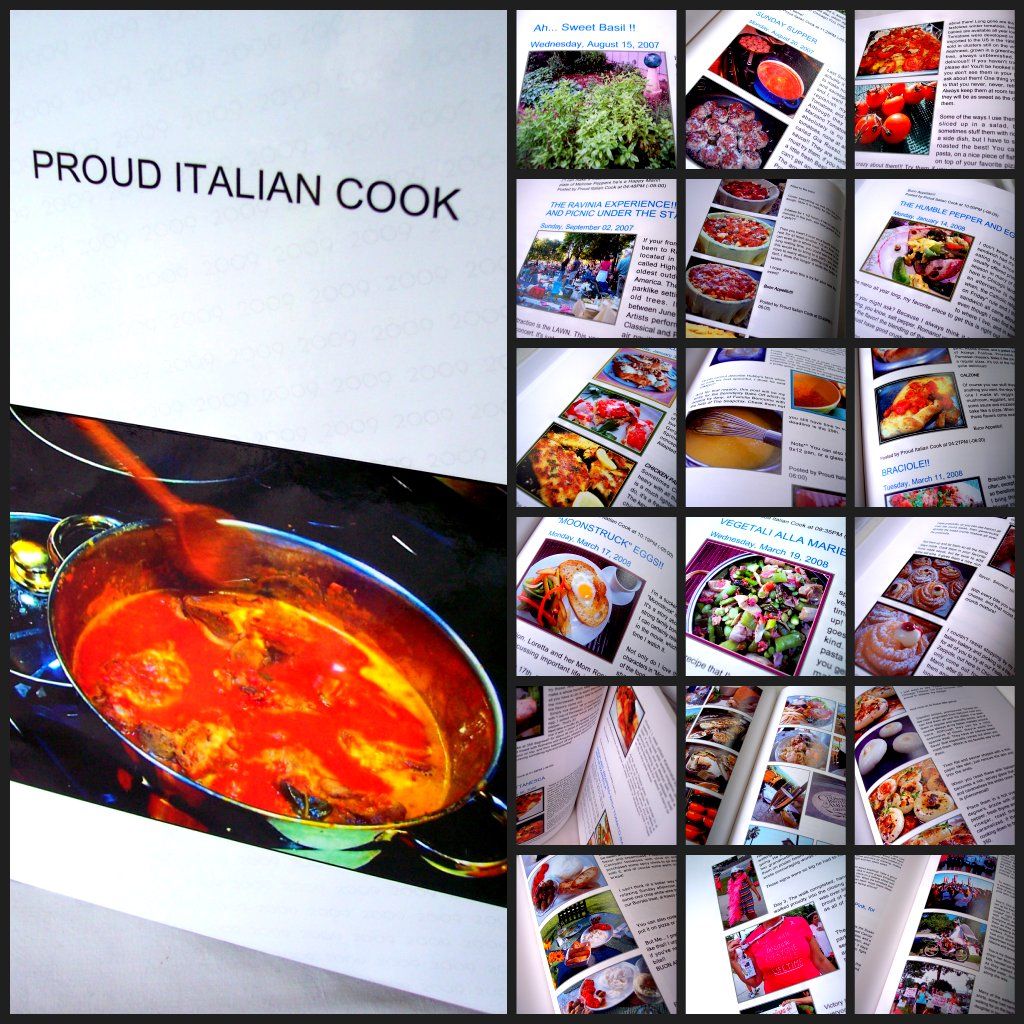
 Then one day I got an email from Julie at Blog2Print and she asked me if I would like to try out their product, as you can imagine I was very excited.