 When it comes to baking I usually go for the more "rustic style", nothing long and complicated for me, quick breads, muffins, one bowl whatever. I get excited when I don't have to pull out my hand held beaters. I don't own a Kitchen Aid and probably never will although I do like those pasta attachments!
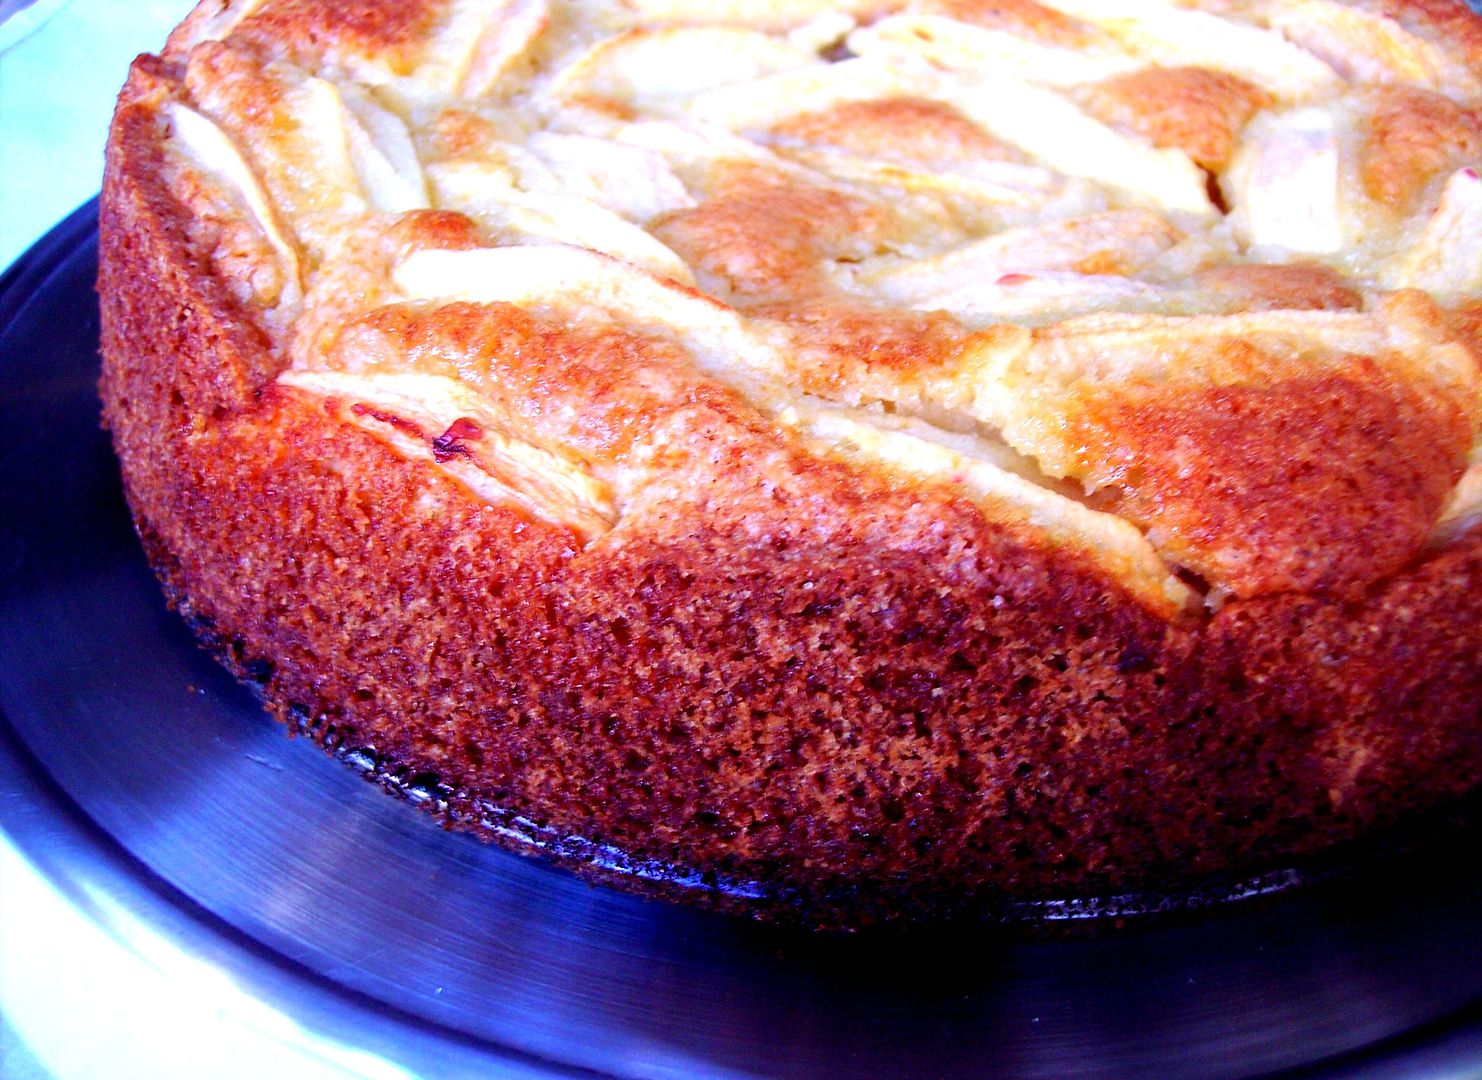
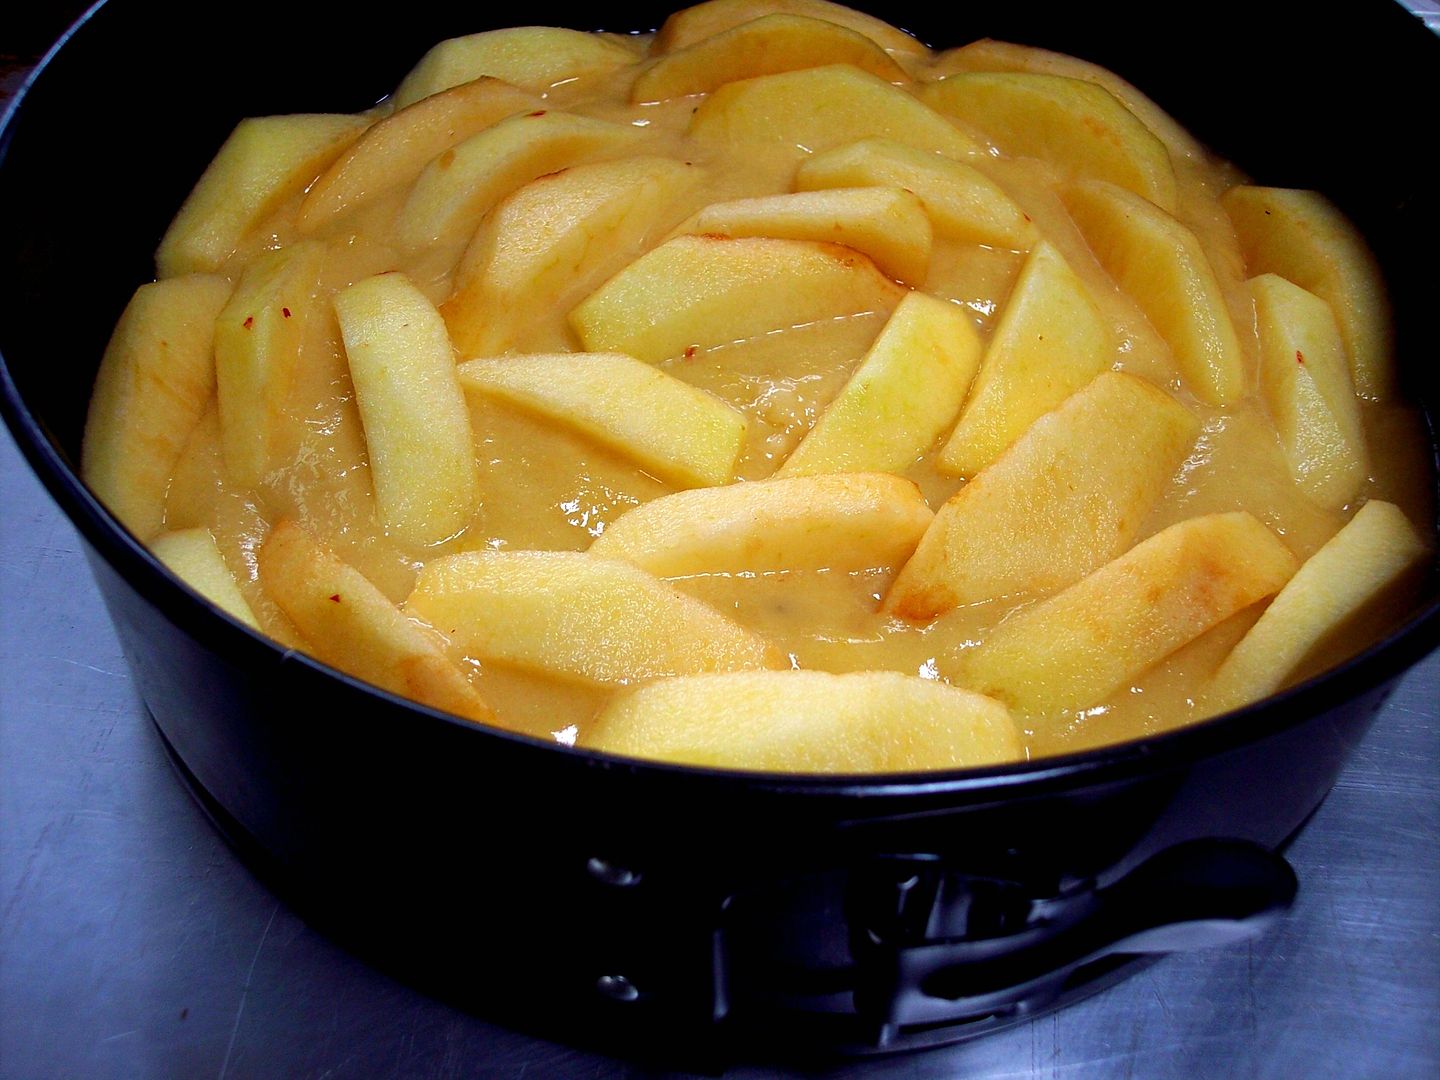 That's why I love making this cake, Torta di Mele, which is an Italian apple cake. Just grab a big bowl and combine:
2 Cups of flour
4 Eggs
1 Cup of canola oil
1 Cup sugar
2 Teaspoons baking powder
3 Tablespoons Amaretto liqueur
6 apples cored, sliced and tossed in the juice of one lemon
Preheat oven to 325F. Combine all ingredients in bowl and stir until smooth. Pour batter into a buttered 9 or 10 inch spring form pan and place your apple slices all around gently pressing them in as pictured above, then bake for 60 to 70 minutes or until golden and cooked through. Cool and serve at room temperature.
 I love Italian plums, when I see them I'm instantly reminded of my favorite aunt and uncle who grew them proudly on their property, they're much smaller than the standard black and red plums that we normally see, their texture is a little firmer and they hold up great in baking. My friend Stacey calls this recipe, Plum Cake for Dummies, which is right up my easy baking alley!
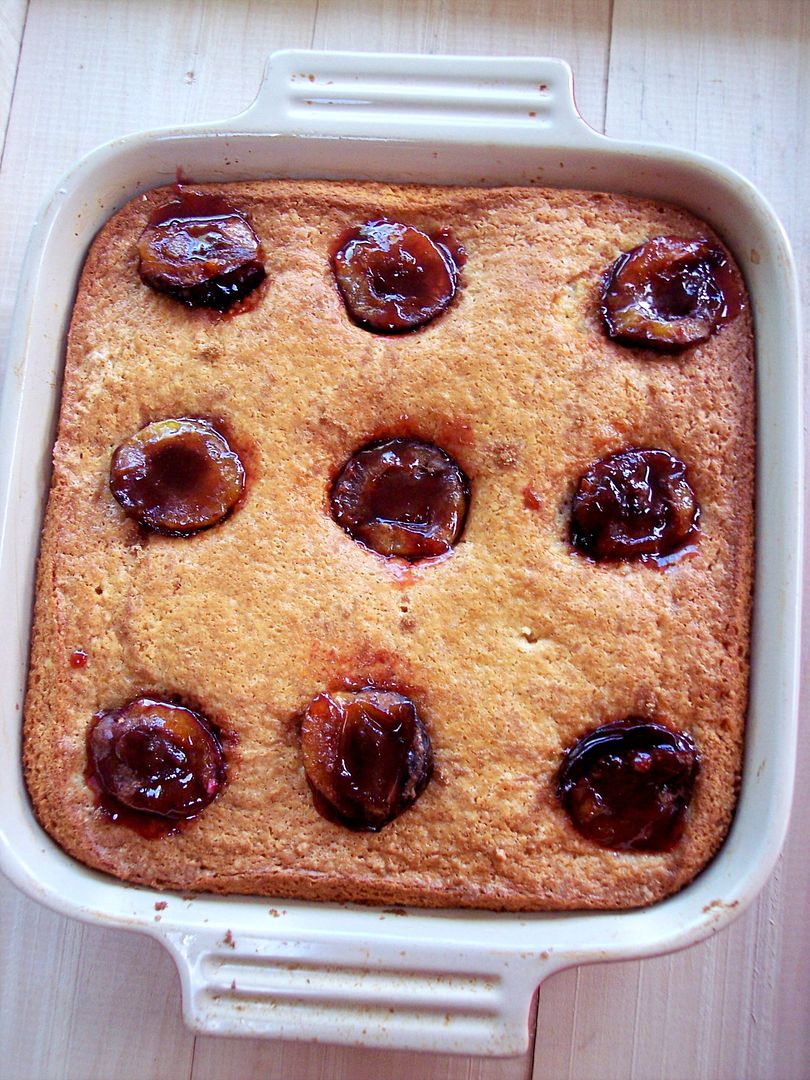
Italian Plum Cake
For my recipe I used the Italian plums which I sliced in half and pitted, you can use as many as you want filling the whole top of the cake if you so desire. The key to this recipe is the easy batter which consists of;
1 1/2 Cups flour
2 tsp Baking powder
1/2 Teaspoon salt
3/4 cup of sugar
1 egg
1/4 Cup canola oil
1/2 Cup milk
Cinnamon sugar to sprinkle over plums,
1 Tablespoon of sugar combined with 1 teaspoon of cinnamon.
Directions:
Mix the wet with the dry ingredients, I used my hand held mixer, then pour the batter into a buttered 8 inch square pan.
Place your plum halves on top of the batter facing cut side up, I pressed one deep into the batter and then another one directly on top of that, so I used 2 halves per section right on top of each other pressing down a bit.
Sprinkle the plum halves with cinnamon sugar and dot the top of them with 2 tbsp of butter and bake at 375F for 40-45 minutes.
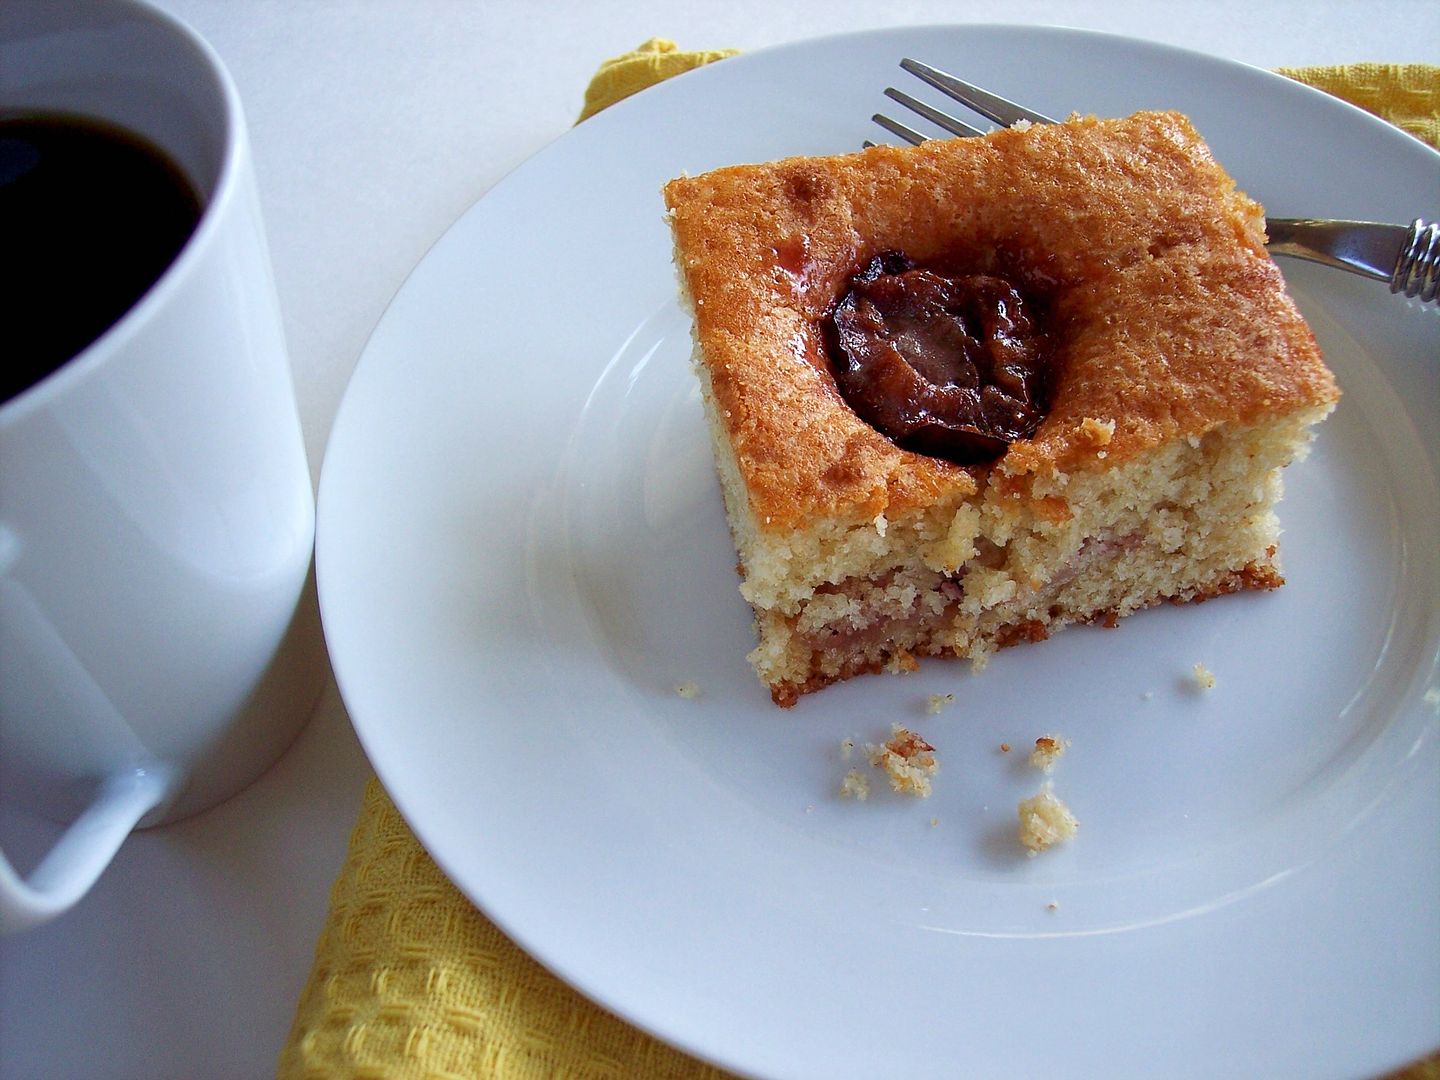 This cake was super moist and great with a hot cup of french roast coffee! This would be equally good using other stone fruits or even apples, why not!
 And lastly, for a nice Sunday breakfast that you can prepare the night before and pop in the oven the morning of, Baked Cranberry Apple French Toast.
 Wouldn't you like to wake up to the smell of this baking in your oven? It's easy, here's how you do it.
Ingredients:
1/2 cup brown sugar
1/4 cup melted butter
1 1/2 tsp. cinnamon
2 or 3 tart apples, depending on size, peeled, cored and thinly slice
1/4 cup dried cranberries
1/2 loaf of Italian or French bread, cut into 1-inch slices
3 large eggs
3/ 4 cups milk
1 tbsp. pure vanilla
Feel free to spike it with some rum or Amaretto for extra added flavor!
Directions:
Toss apples and cranberries with brown sugar and 1 tsp. cinnamon. In a buttered 8x8-
inch baking dish arrange bread cubes on top. Mix the eggs, milk, vanilla and remaining 2 tsp. cinnamon until well blended. Pour mixture over bread, soaking bread completely. Arrange apple and cranberry mixture all over then cover and refrigerate overnight. Next morning, bake covered with aluminum foil in a preheated 375F degree oven for 30-40 minutes. Uncover and bake 5 minutes more. Remove from oven and let it stand for 5 minutes.
Serve warm, garnish with slivered almonds and serve with maple syrup!
Buon Appetito!
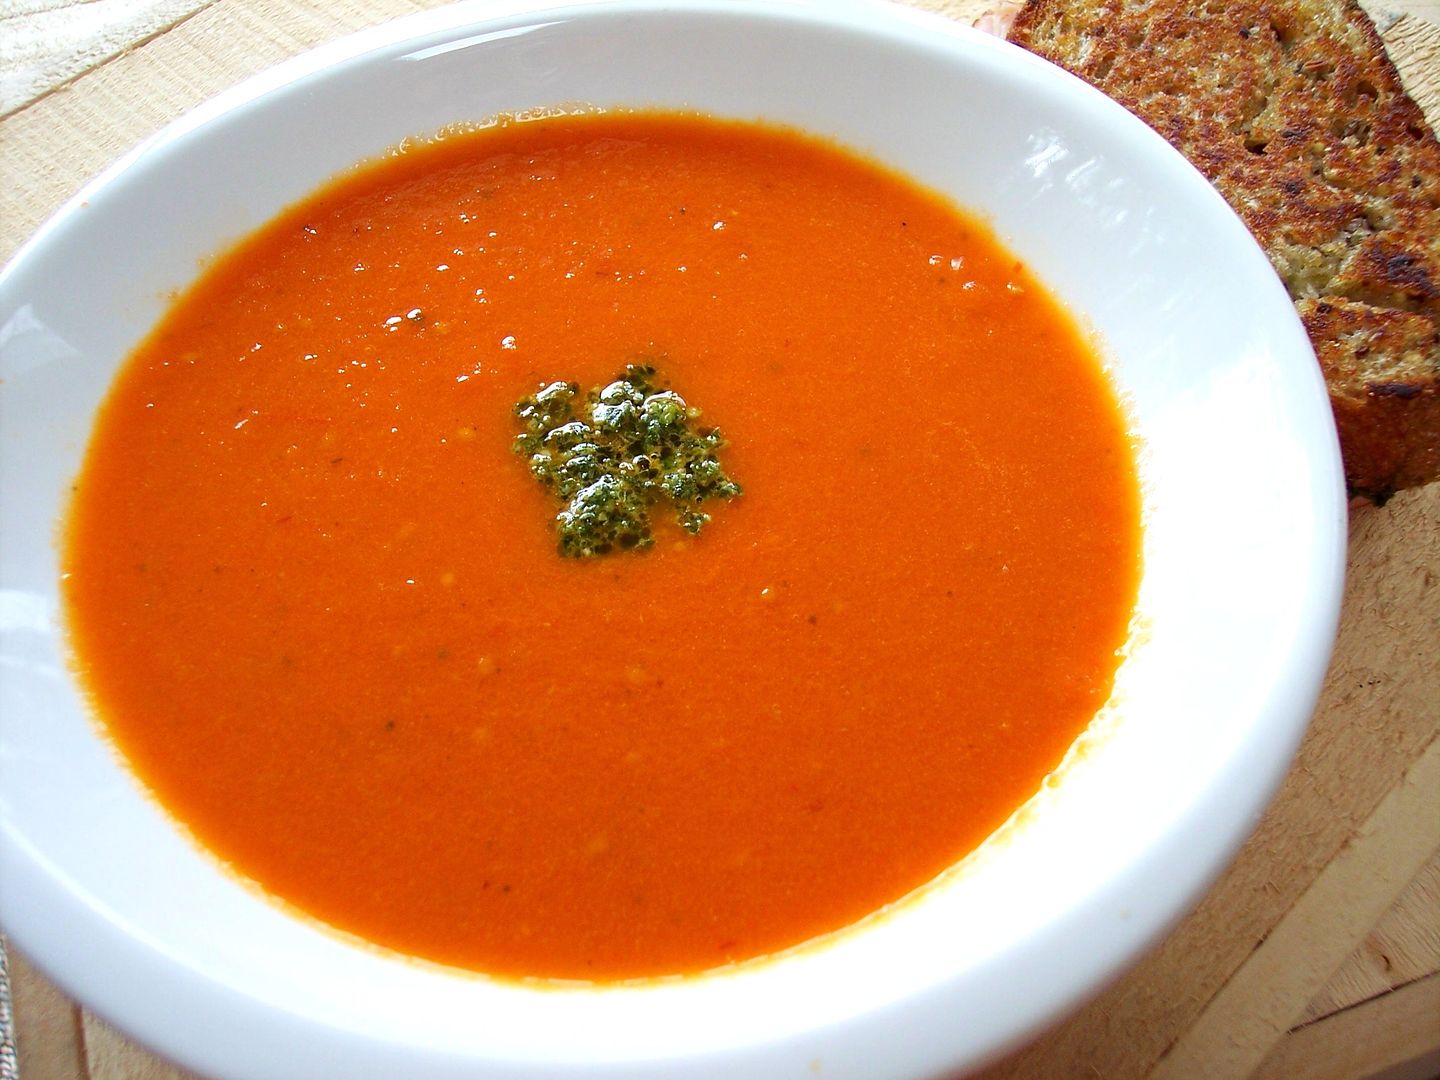


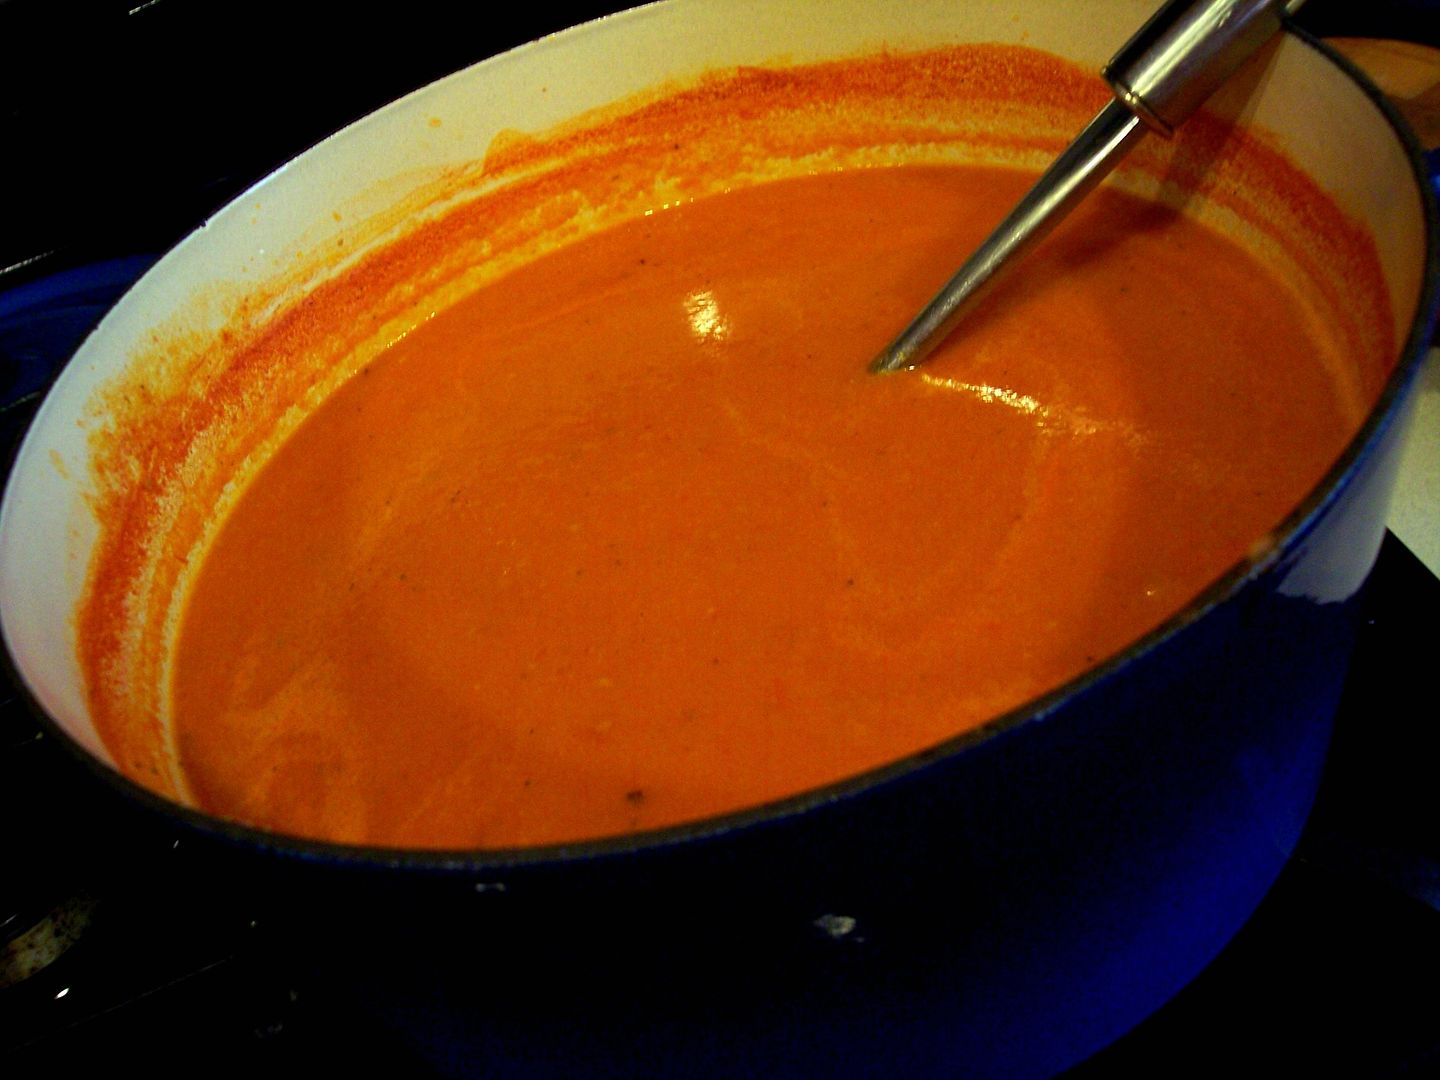
 ROASTED TOMATO SOUP
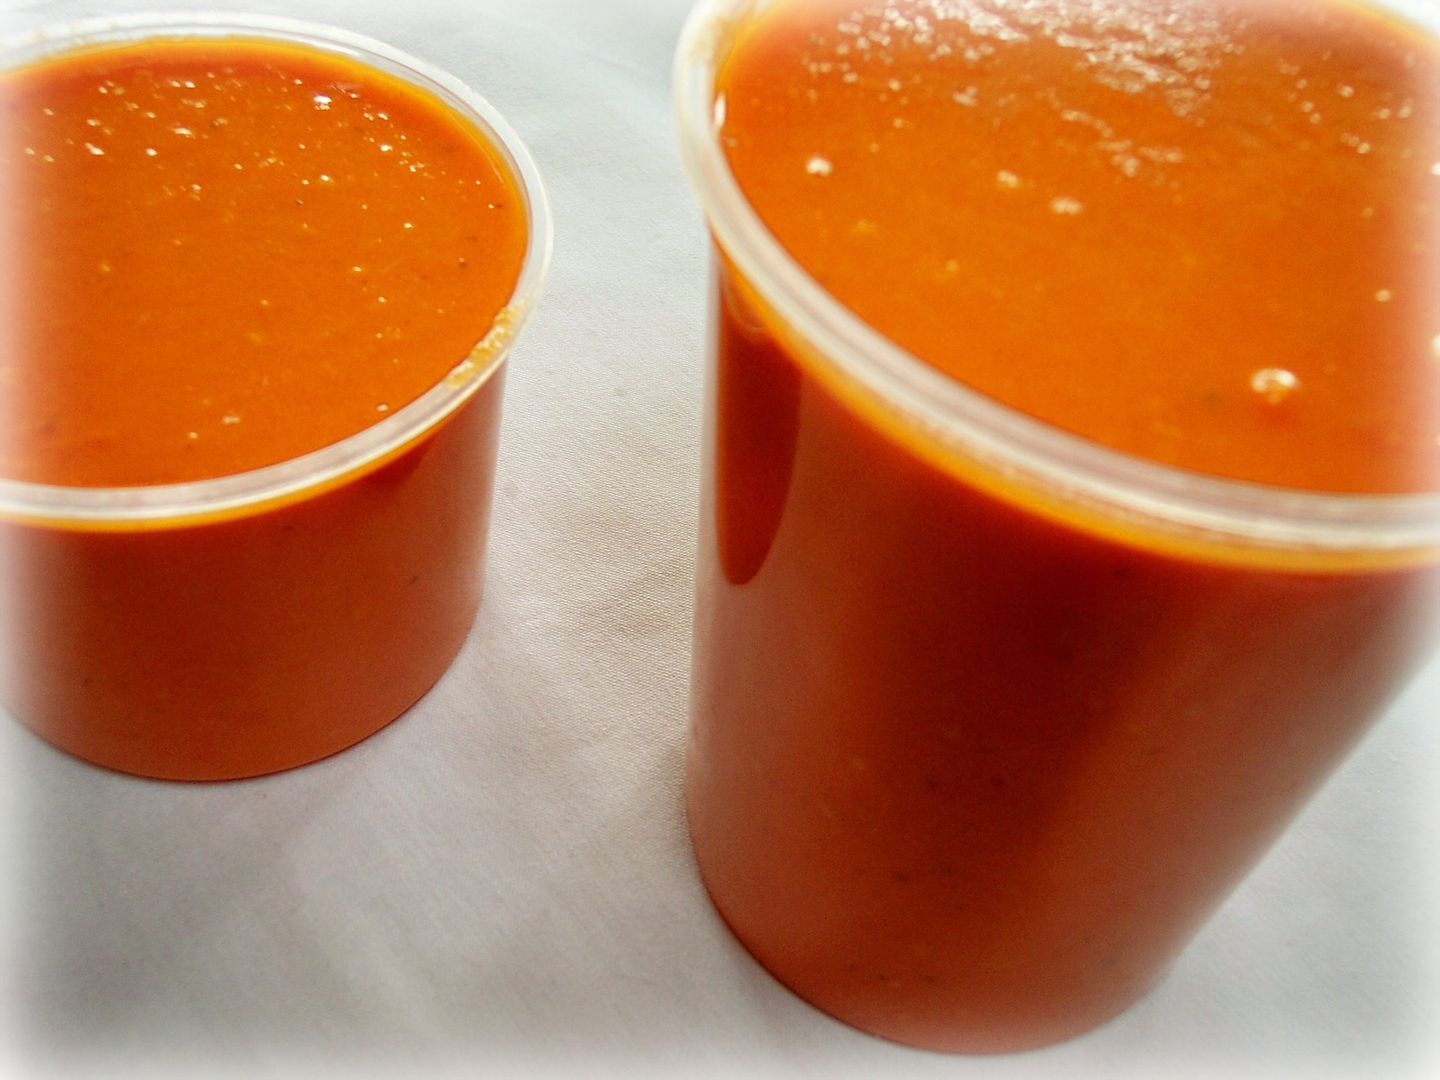


