Friday, November 19, 2010

Butternut Squash-and-Red Onion Pizza

We're finally back with another new pizza to share for our weekly Friday Pizza Nights! While we've continued to make pizza on Friday, these past couple of weeks have been easy repeats from the past out of necessity and comfort. I don't think Jeff would have described this Butternut Squash-and-Red Onion Pizza as one that would be ideal for him because I definitely got "the look" when I said "Hey, guess what we're having on pizza tonight? Squash!". I just took it in stride and replied "too late... that's all we got!" - hee hee!

Since the squash would take too long to cook if it was thrown on the dough raw, the cubes are roasted to give them a head start. It won't take too long since the oven is already headed at a fairly high temperature to cook the pizza - we did drizzle the cubes with oil, then seasoned then with fresh thyme, salt and black pepper. Rosemary also might be nice instead of thyme, or you could forgo both for a more pure flavor.

With the squash roasted to a light golden brown, yet not completely tender, we stretched our favorite homemade whole-wheat dough into a large rectangle on top of a piece of parchment, then slathered the top with a wicked combination of extra-virgin olive oil, a large clove of garlic and chopped fresh parsley. So the toppings can visually shine on top, the cheese goes onto the dough first - we used mozzarella, diced into small cubes and scattered all over.

After the cheese, we took thin slices of red onion and radicchio and dressed them with a smidge more of that fruity oil, then added the squash right into that same bowl and arranged the vegetables over the cheese. Slid onto the same sheet we roasted the butternut on, the pizza bakes until the cheese bubbles and oozes over the bottom, the squash finishes roasting through and the crust turns golden and crisp.

I decided to take a few bites before Jeff did just to see if I had better figure out something else for him in a hurry, but when I found how the sweetness of the tender golden squash turned out to be just the right contrast to the slightly bitter radicchio and pungent onion, I had a feeling Jeff just might dig this after all. And with a gooey pool of melt-y mozzarella underneath, how could he not? And guess what? He loved it and even took a trip back for seconds - will wonders never cease!

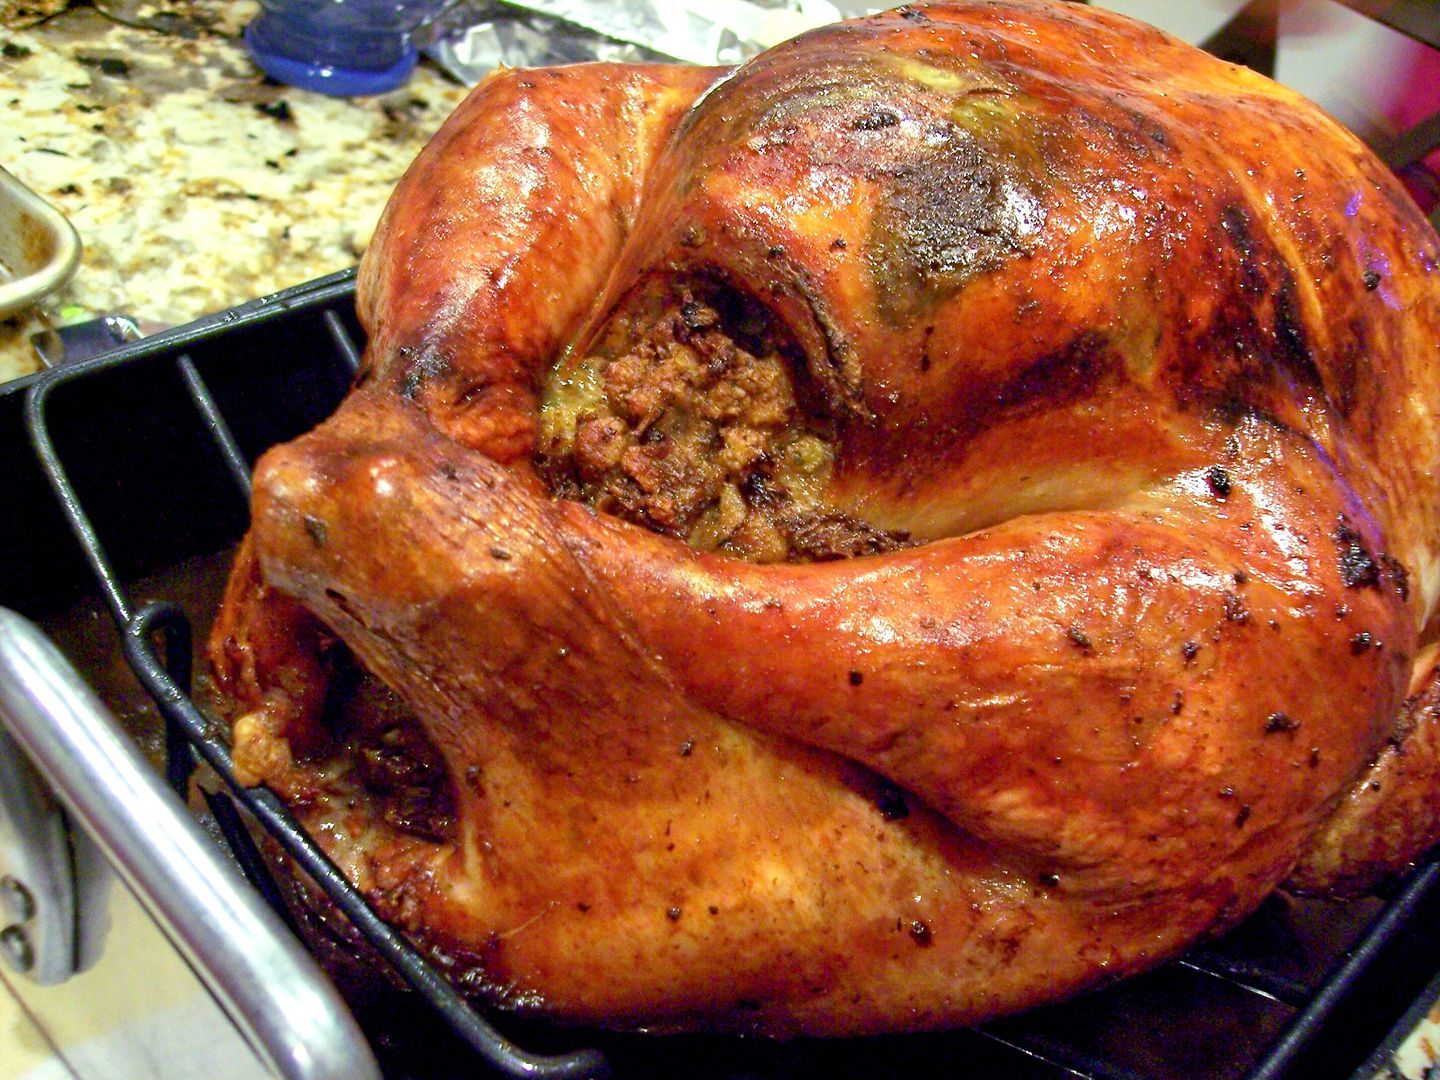
Last Minute Turkey Day Idea's

By now most of you have your Thanksgiving Day meal all planned out, but if your still thinking about adding a few more dishes to your table you might want to try some of these idea's from my archives. Enjoy!
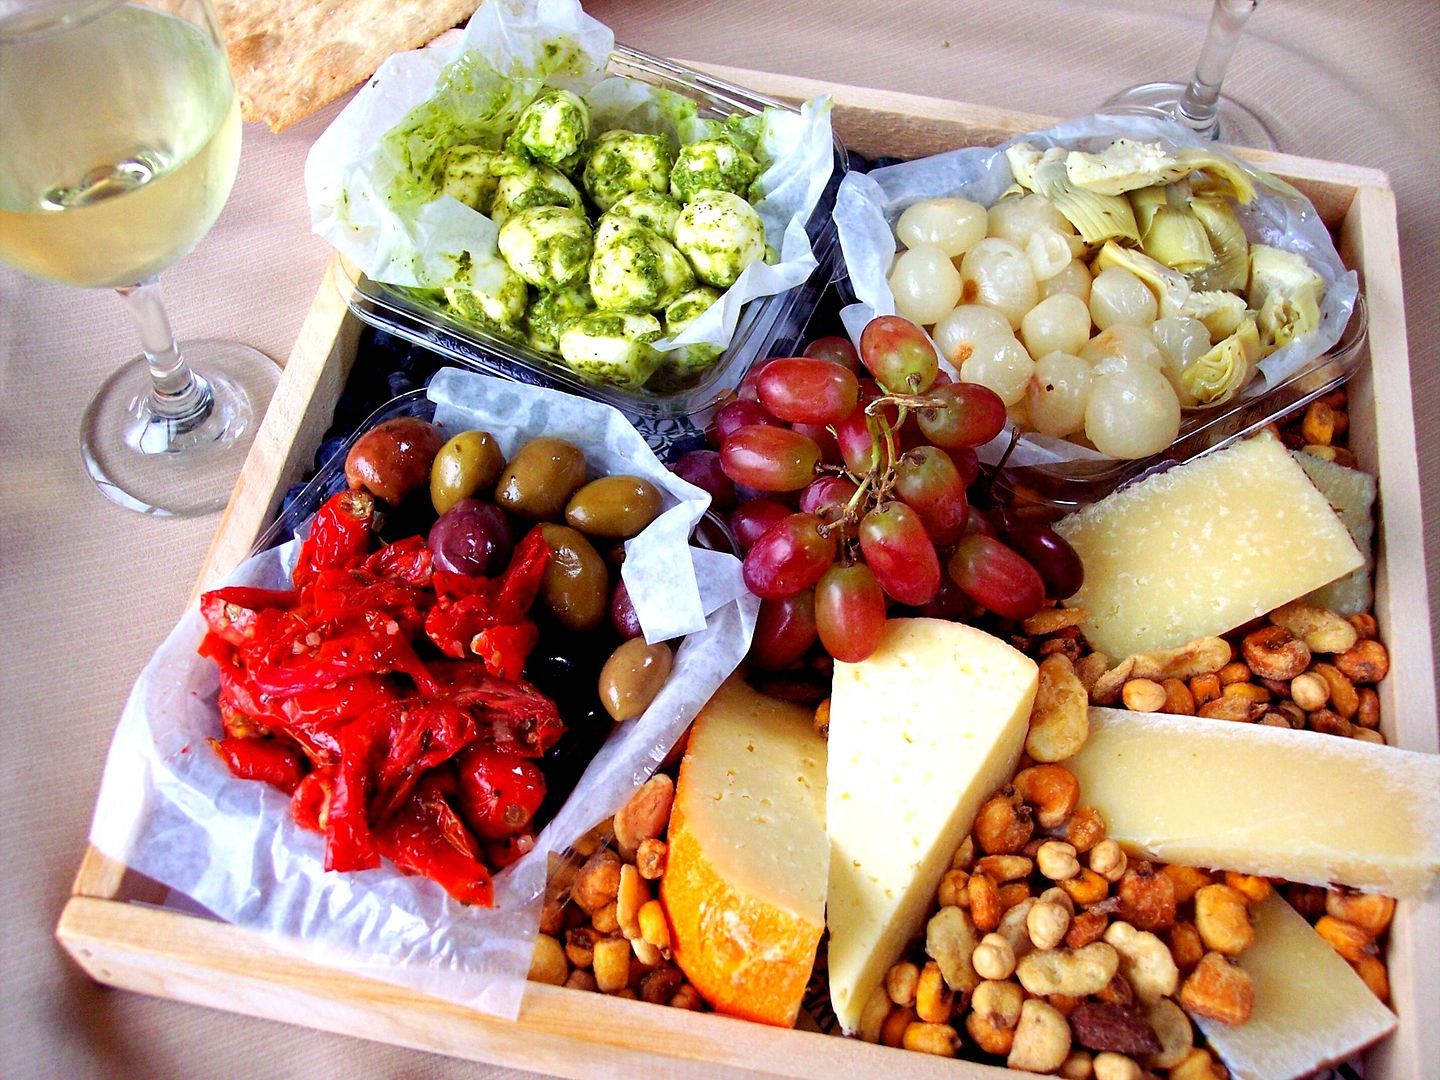
Antipasto platters are always good, this one was actually purchased but you can easily put together your own with a few different things like assorted olives, roasted red peppers, artichoke hearts, cocktail onions, fresh boccochini balls tossed in pesto, grapes, nuts, and a few other cheese's of your choice, serve with assorted crackers and some cold wine, this is always a big hit!

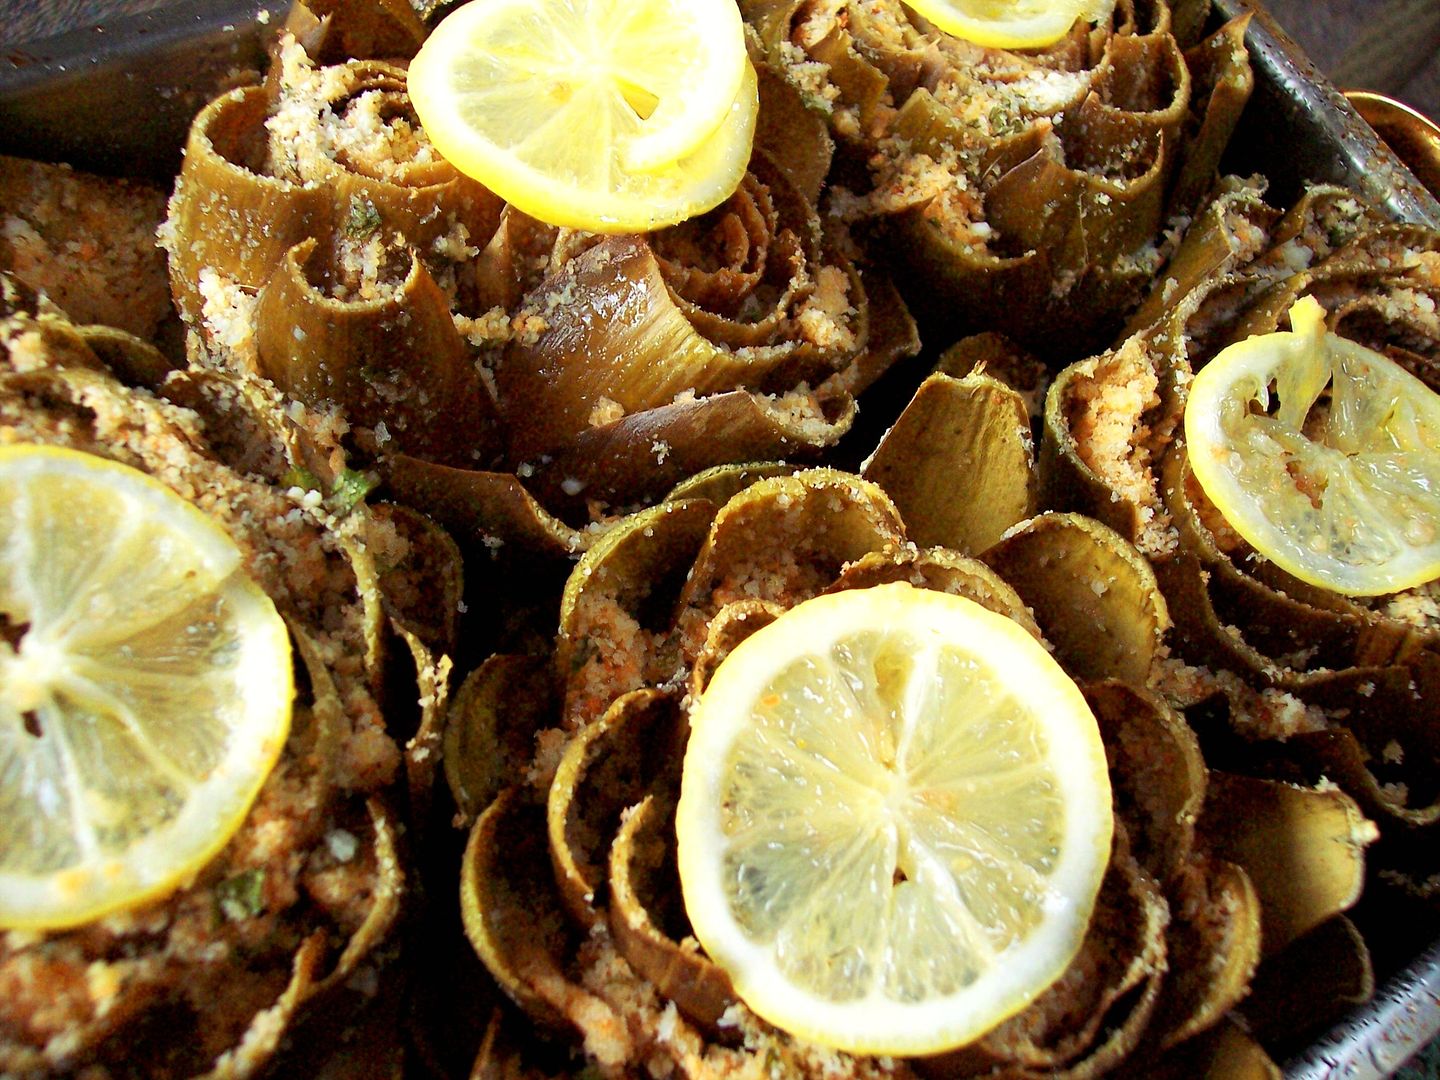
What can I say, we love Stuffed Artichokes and they are always present here during the holidays.

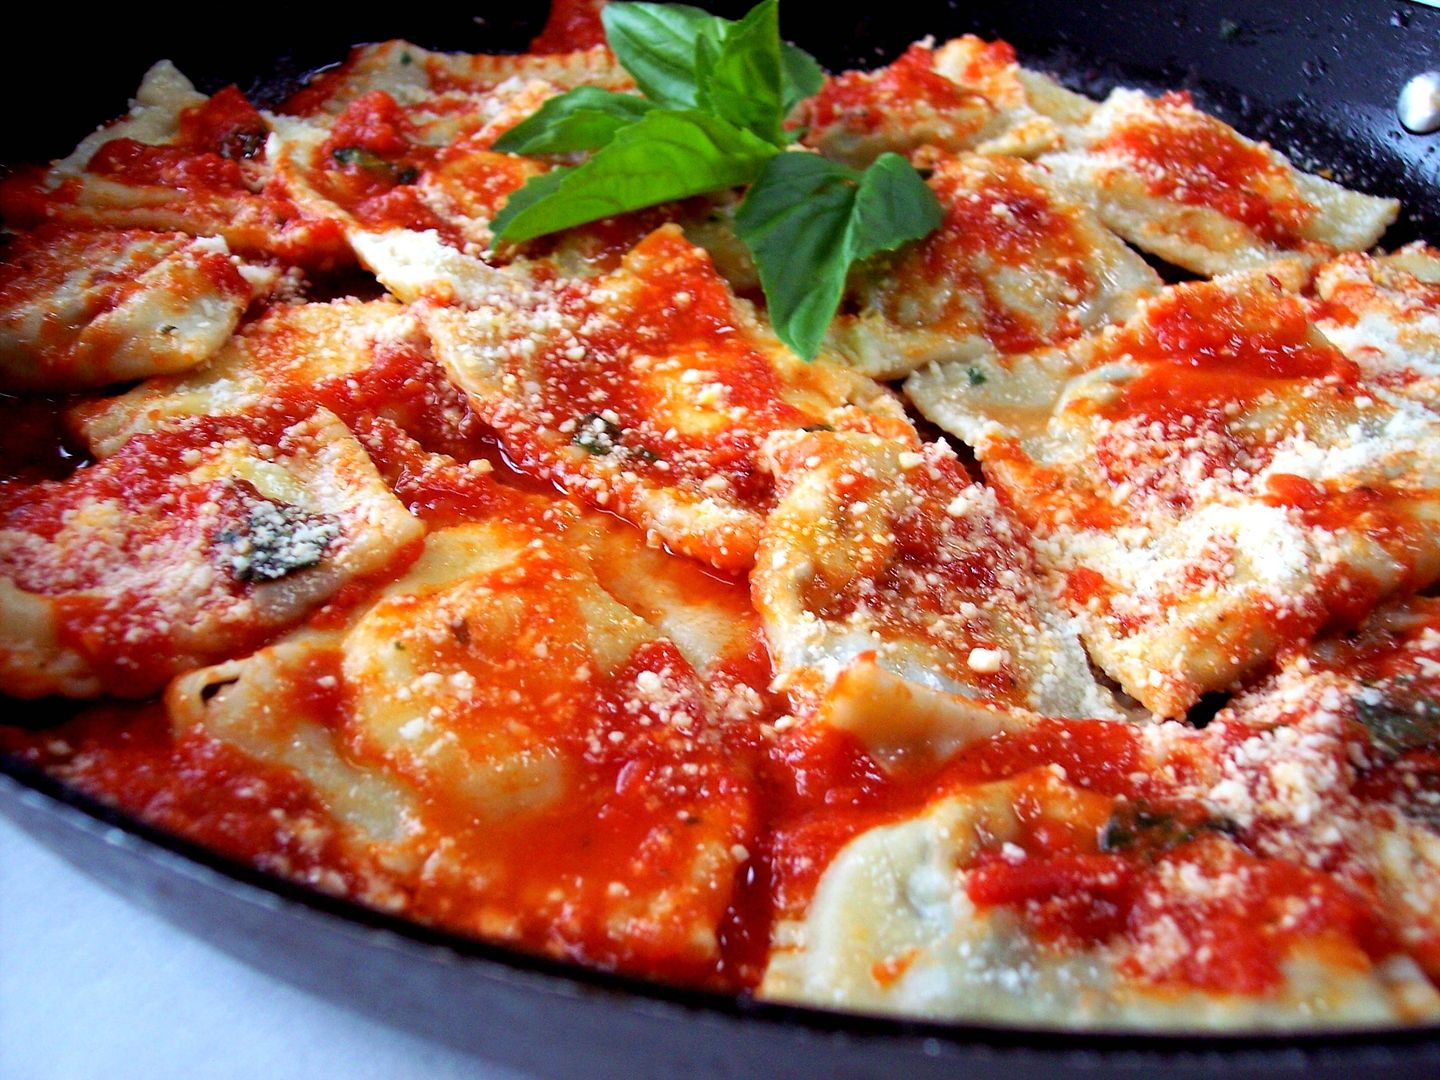
You have to have some kind of pasta on the side, no? Homemade Ravioli's or buy some good Italian deli ones, I won't tell!


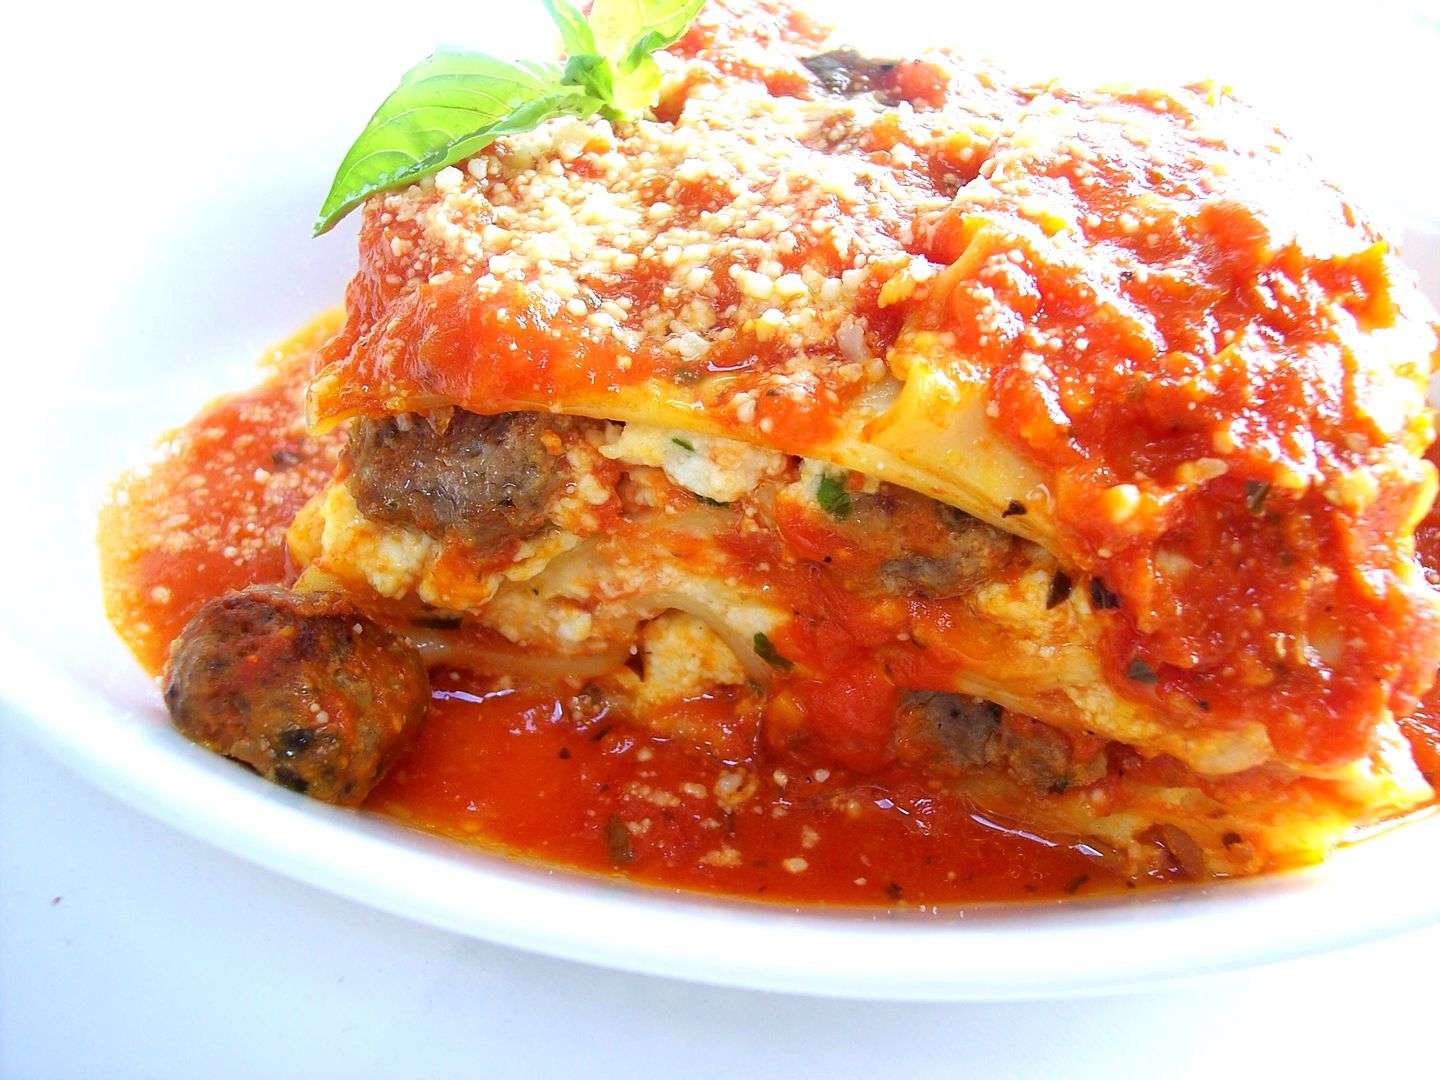
Or how about a Meatball Lasagna, a little extra work making those tiny meatballs, but hey it's a special day!

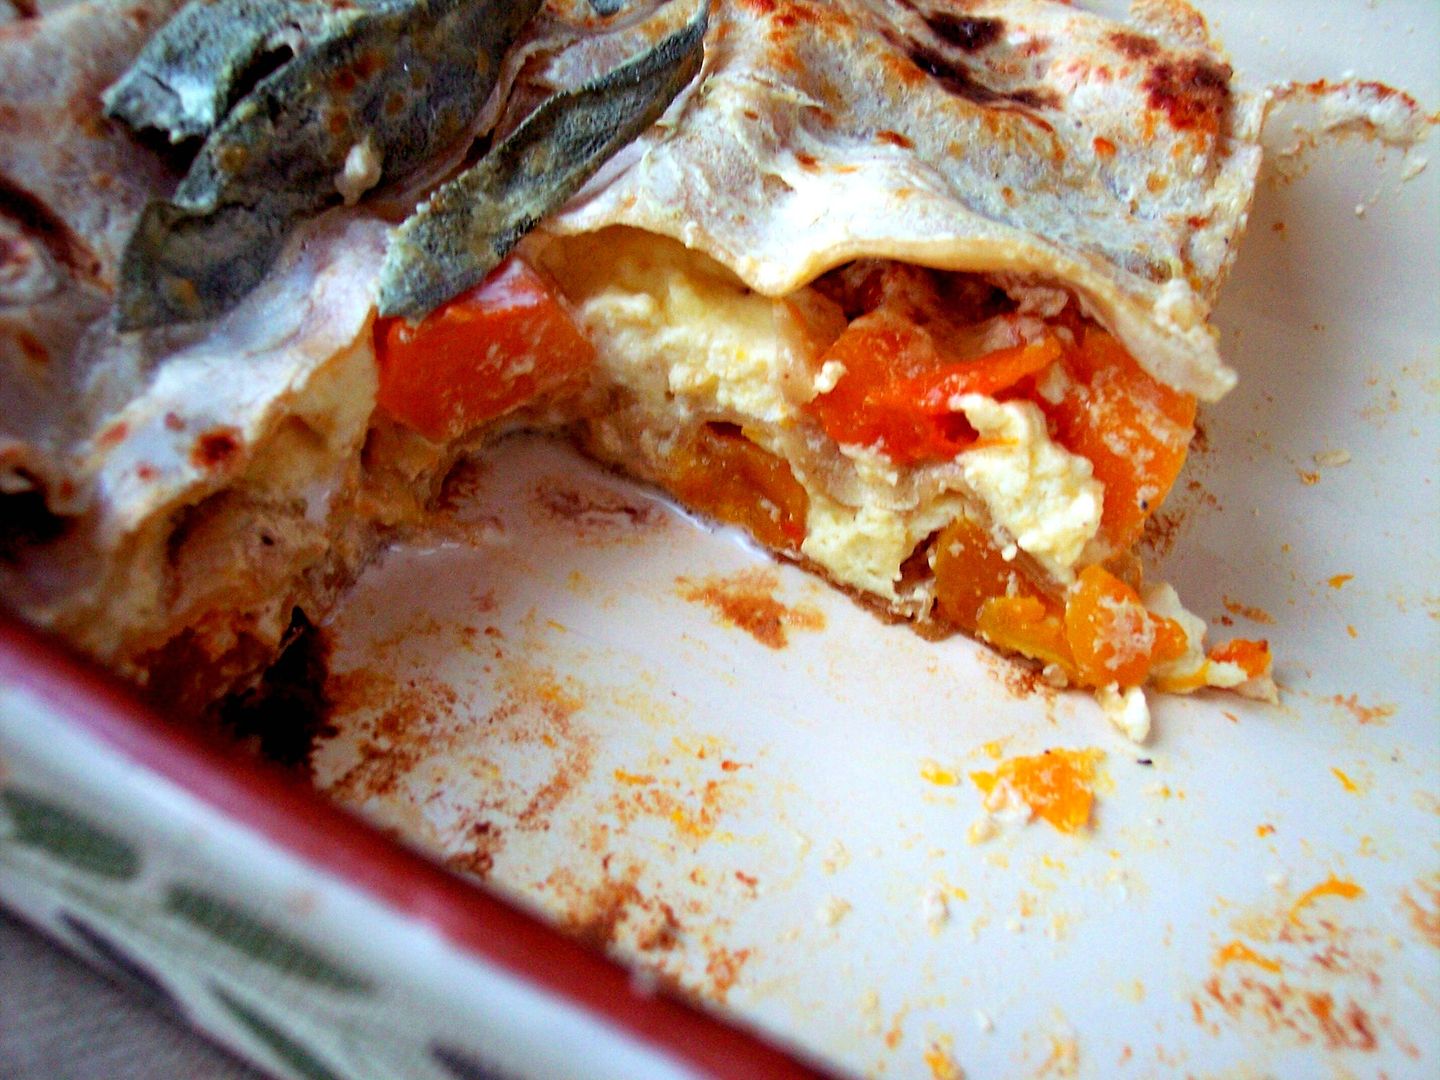
Butternut Squash Lasagna, my new favorite addition, you can't go wrong with this, it's so Thanksgiving like.

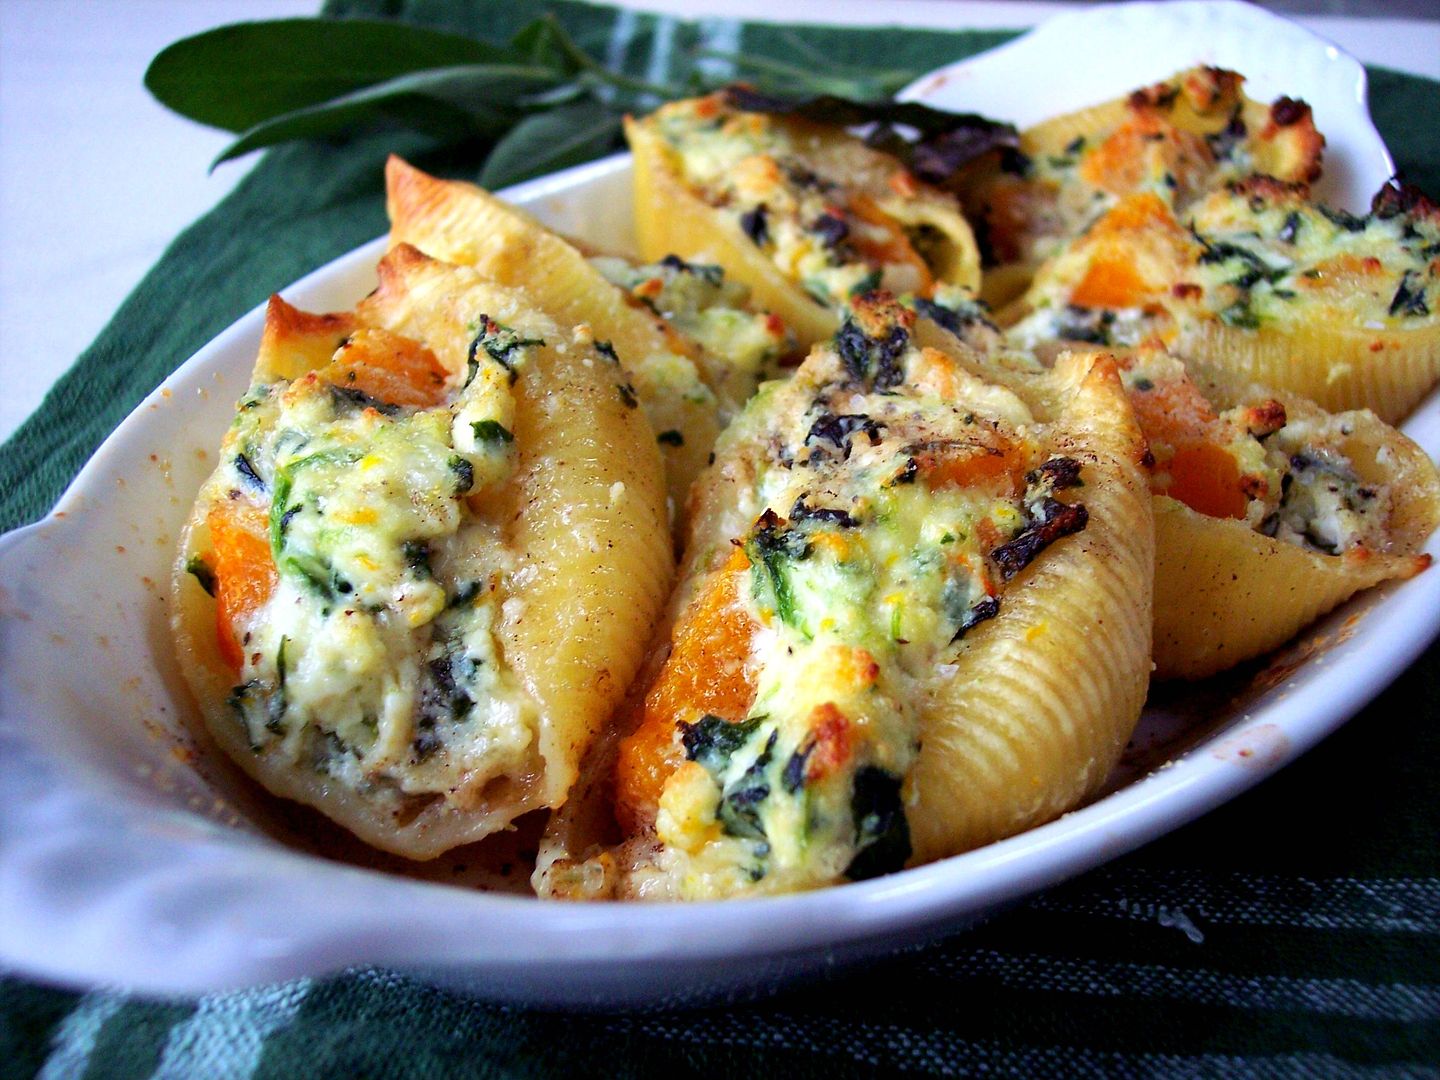
Or how about Butternut Squash Stuffed Shells filled with spinach and ricotta drizzled with a lemon sage butter sauce. Wouldn't a couple of these look good on your plate sitting right next to your turkey?


Roasted Parmesan Creamed Onions, these are to die for, there's nothing more to say!


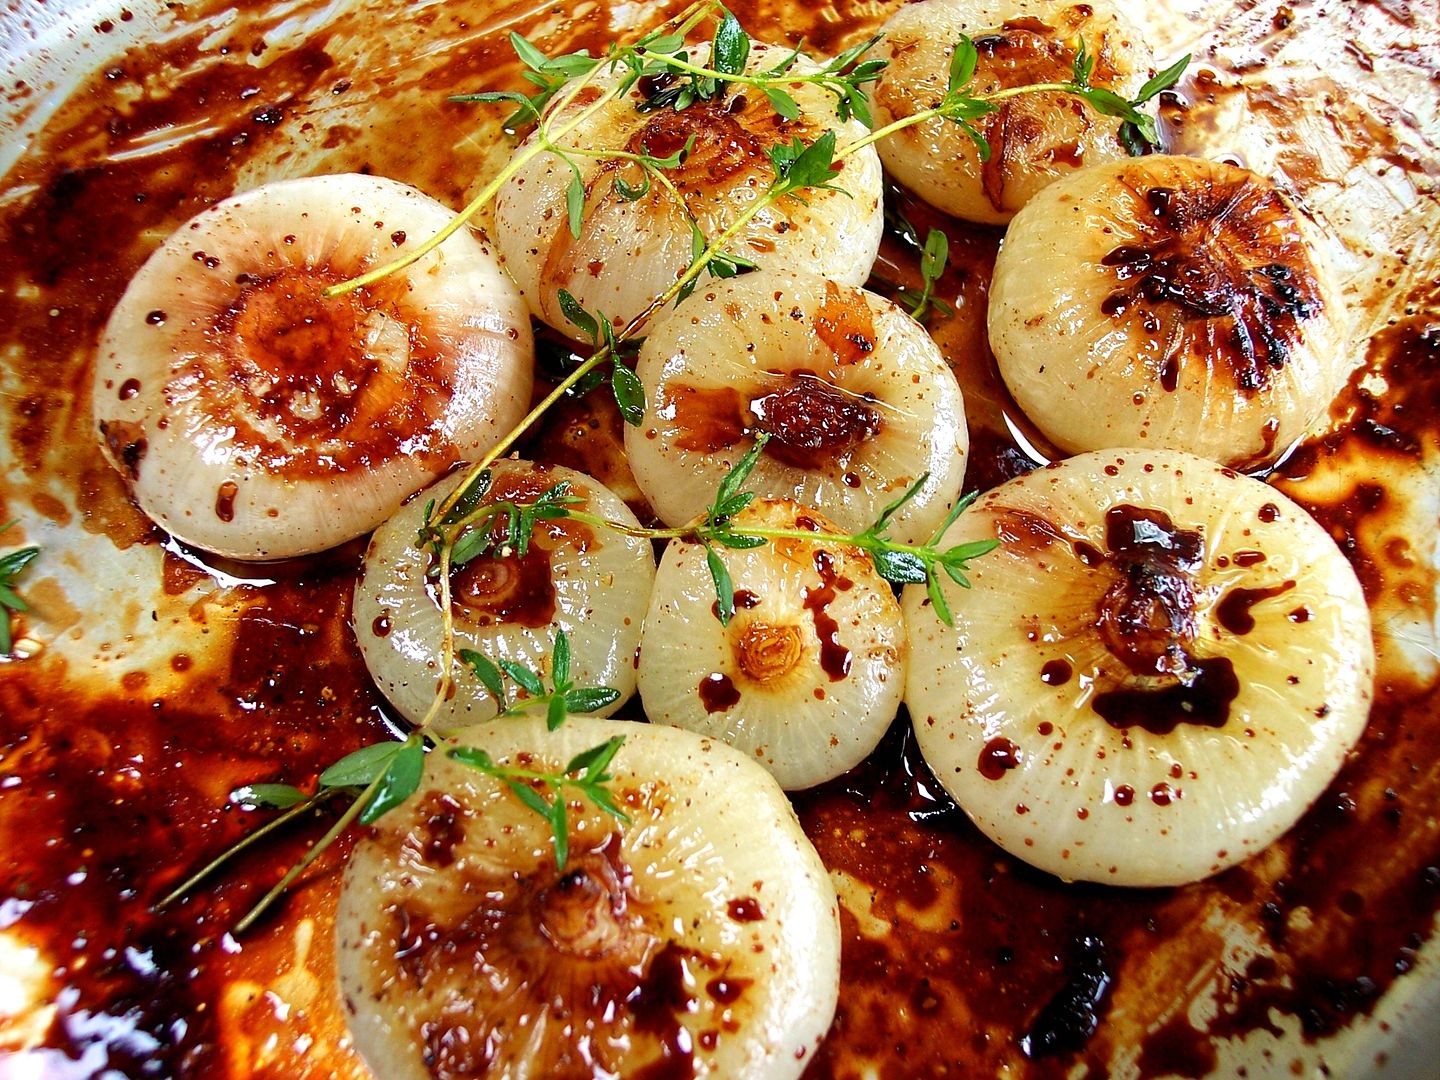
Balsamic Glazed Onions, sweet and delectable little things!


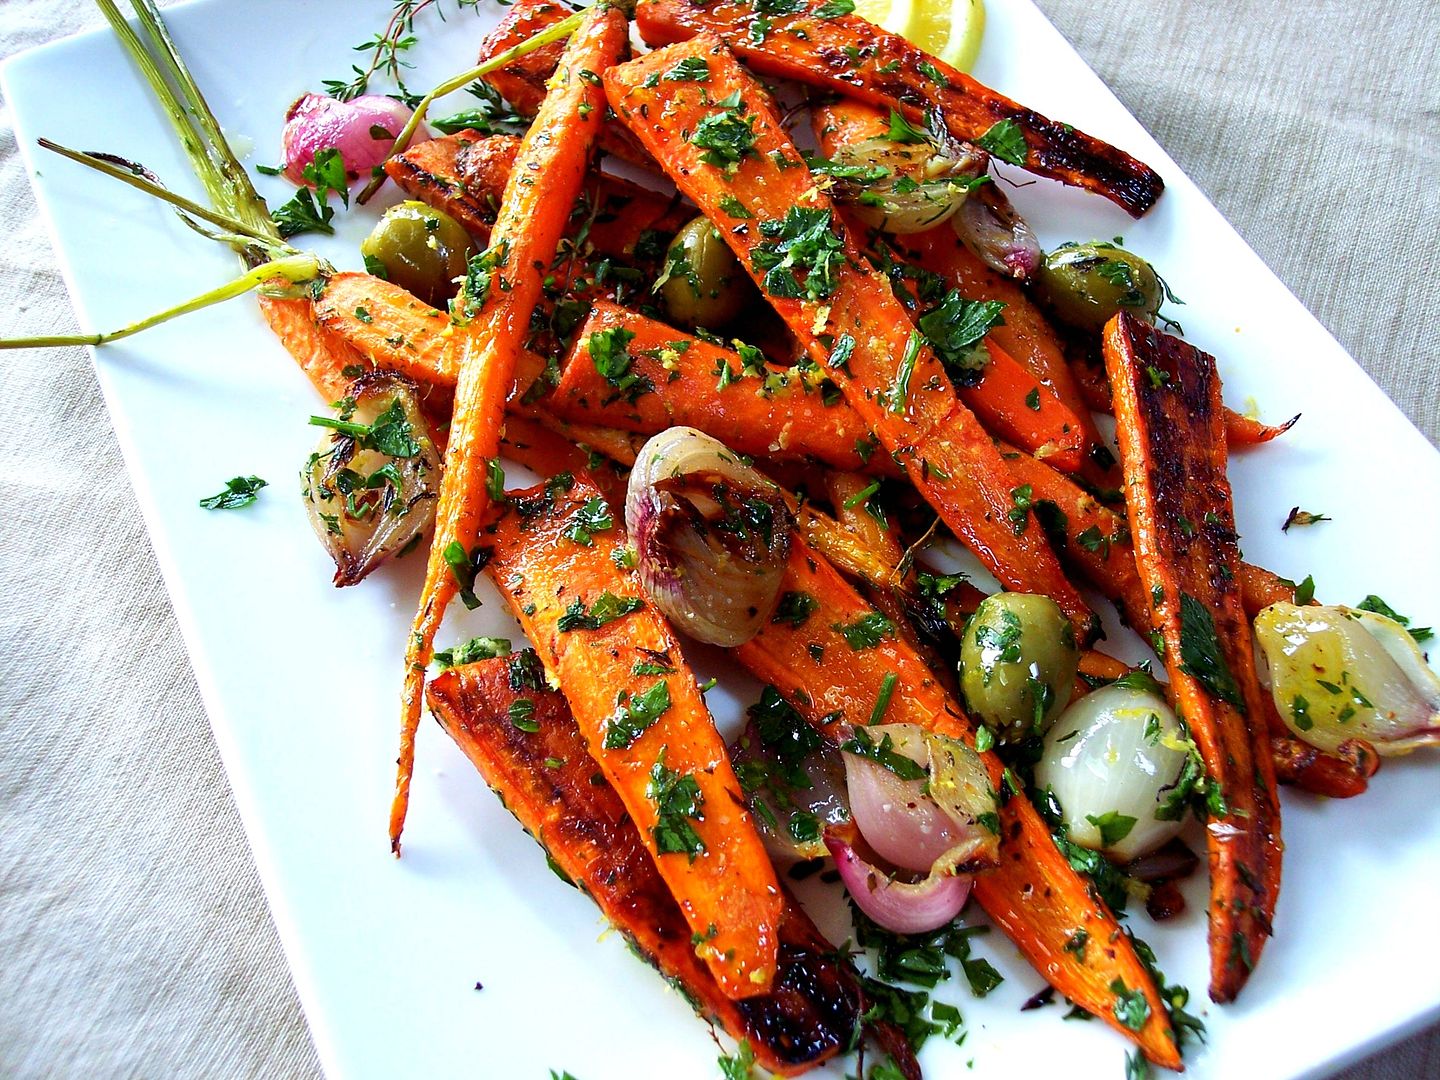
Simple Roasted Carrots elevated up a notch with Shallots, Green Olives and a Gremolata sauce.


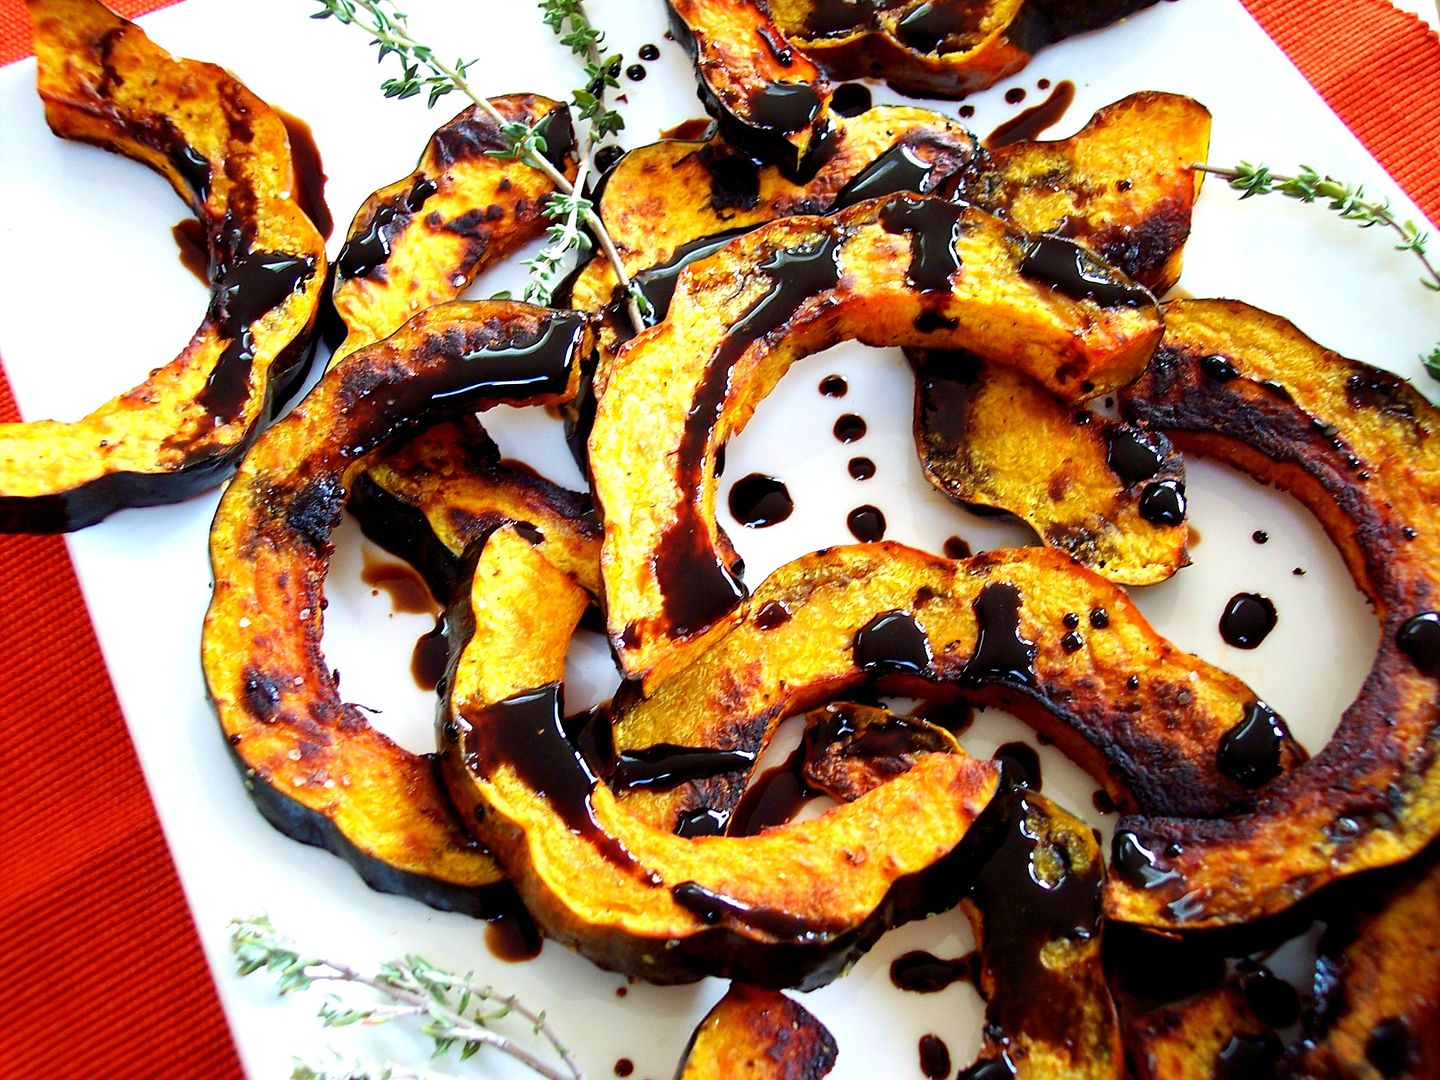
Roasted Balsamic Glazed Acorn Squash almost to pretty to eat, almost!


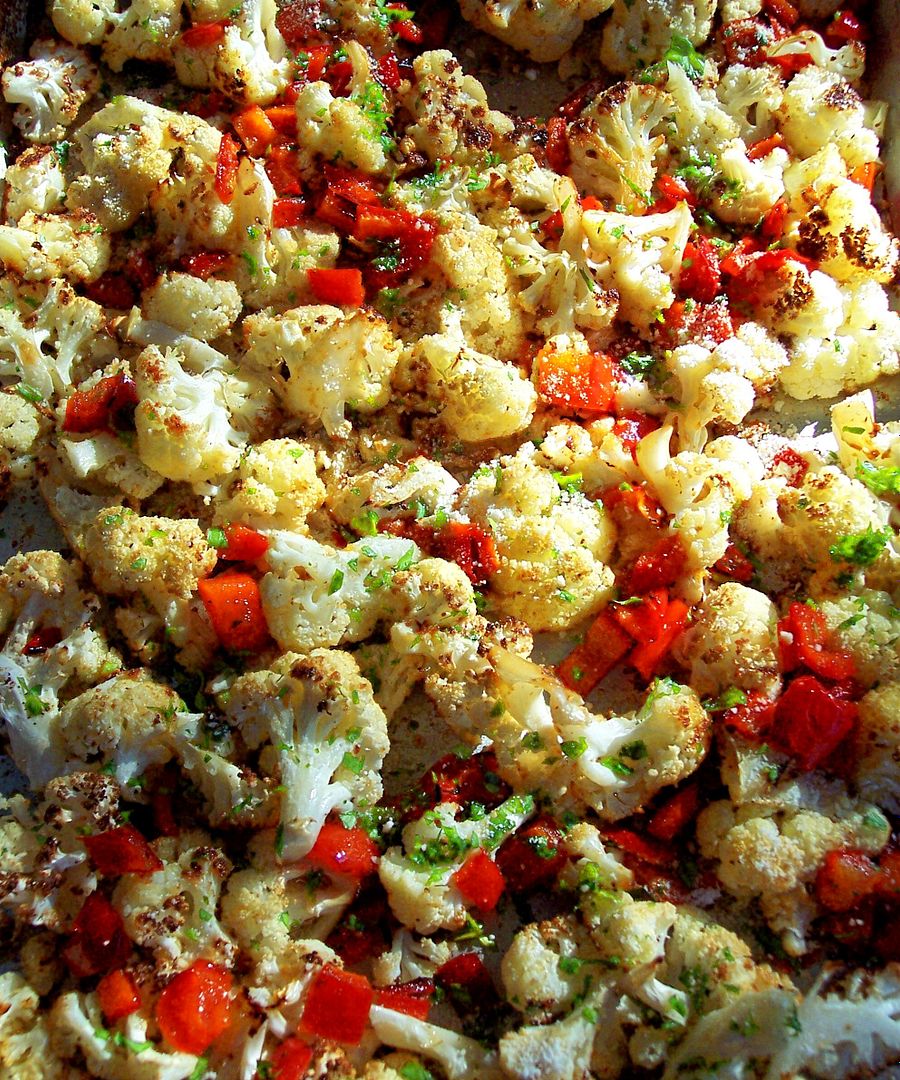
Cauliflower with Red Pepper roasted in olive oil with a crunchy coating of breadcrumbs, grated romano cheese and fresh snipped parsley, always a nice side dish.


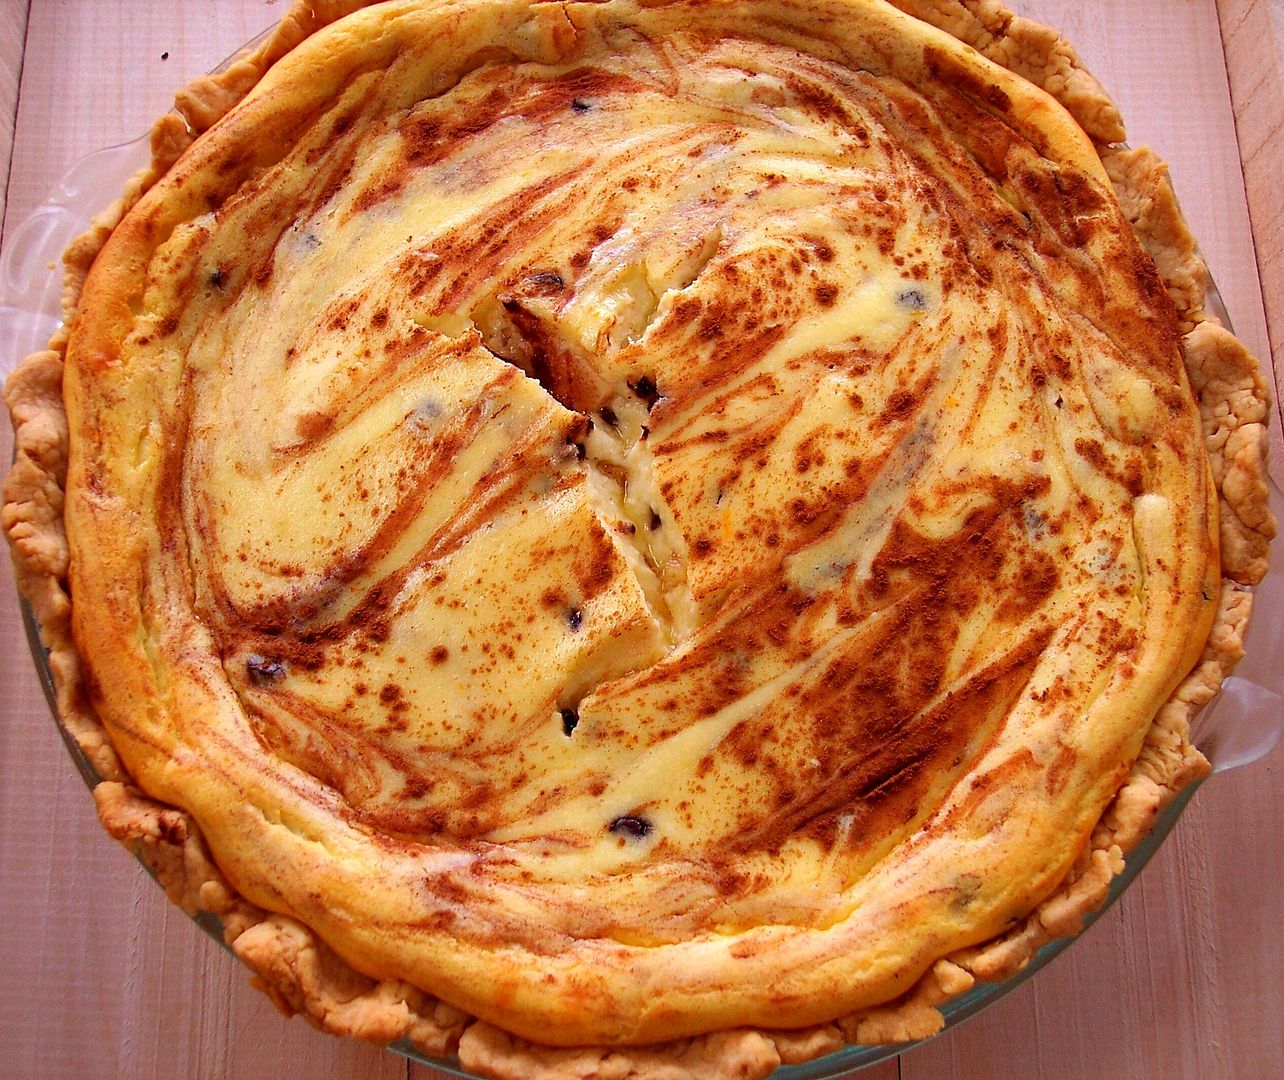
And last but not least! I know pumpkin pie is always the star on Thanksgiving Day but how about adding in a
Sweet Ricotta Pie as another choice, it's dreamy creamy filling of ricotta, chocolate chips, orange and cinnamon will be the perfect ending to your holiday meal.
HAPPY THANKSGIVING EVERYONE!

Pecan Torte


I had what I’d like to call a "tarte Tatin moment" when making this torte. Let me explain; for those unfamiliar, the inventors of the tarte Tatin, the Tatin sisters, didn’t mean for their legendary apple tart to be upside down. It was a mistake, an accident from which one the most delicious of desserts in the whole world was born. Likewise I didn’t mean for my torte to be butter-less. I duly melted half a stick of butter in the microwave just to find out hours later that the entire bowl of melted butter was still there. It’s only then that I realized that the uber delicious and moist dessert I had been nibbling on all afternoon and couldn’t get enough of was completely butter-less. Imagine my joy! I quickly ran to my recipe and crossed out the butter. It simply didn’t need it. The oil from the pecans was more than enough to produce a delicate torte.


There is something totally amazing about this torte besides the absence of butter: every time I took a bite, I had the impression that I was eating baklava or some other similarly sweet, gooey, nutty Moroccan or Middle Eastern dessert. If I had one of those blindfolded taste tests, I could have sworn I was eating a scrumptious Moroccan honey-glazed pastry. It tasted just like one: rich, mellifluous, addictive. I was thrilled--no, beyond thrilled--to have a taste of home without all the caloric baggage. If I may add, it is also sugar-free and flourless!!


Pecan Torte Recipe


8 servings

2 cups shelled pecans
¼ teaspoon salt
1/2 cup honey
3 eggs
1 teaspoon vanilla extract

Preheat the oven to 350 degrees Fahrenheit. Spray an 8-inch springform or non-stick tart pan with cooking spray.

In a food processor, grind the pecans to a coarse meal.

In a large bowl, combine the ground pecans with salt. Whisk in the honey, eggs and vanilla extract until well combined.

Pour the batter in the prepared pan . Bake until set and lightly browned, 25 minutes.

Happy Thanksgiving! Root Vegetable Gratin


Ingredients:

3 pounds carrots and/or parsnips
1/2 cup pineapple, minced small or crushed (if using canned crushed pineappple, drain very well)
3 eggs
1/4 cup Coffee Rich or milk substitute
1/2 cup flour or matzoh meal
3-4 tbsp honey
1/2 to 1 tsp cinnamon
1/8 tsp nutmeg
1 tbsp grated or 1/2 tsp ground ginger
salt and pepper to taste
fresh, sliced pineapple for garnish


Procedure:

Peel and boil carrots and/or parsnips until tender. Shock the vegetables in ice water to stop the cooking and to retain the bright color. Drain them very well. Puree in a food processor, and reserve in a large colander. Drain the vegetables well again.

Whip the eggs in a clean mixing bowl. Add all the other ingredients and season well. Divide the mixture into well greased molds or one large baking dish and place onto sheet pans into a preheated 325 degree oven. Pour hot water onto the sheet pans to provide steam while baking and bake for 35-40 minutes.

Test for doneness by inserting a skewer and internal temperature should reach 160 degrees and be firm on top. Garnish with sliced pineapple.

Thursday, November 18, 2010

How to Stuff Grape Leaves


Please welcome our guest, Sarah Melamed, from Food Bridge


Fresh aromatic herbs, rice, a bit of olive oil, lemon juice.

Just simple ingredients.

Yet when this mixture is rolled within grape leaves a transformation occurs. One that happens slowly as it simmers over a gentle flame, releasing scents of long Middle Eastern summers. It is a food steeped with tradition and made with love. For many it is the taste of home, wherever that may be.

The recipe changes as one travels away from the Levant and into Eastern Europe, Northern and Eastern Mediterranean and large parts of North Africa. The popularity and prevalence of this dish is attributed the Ottoman Turks who introduced their culinary style throughout the areas they controlled. Interestingly this delicacy is not considered part of traditional Moroccan cuisine since Ottoman influence reached only to the area of what is now Tunisia.

Although grape leaves cured in brine are available year round, the best time for making stuffed grape leaves is in the spring when the young leaves are still supple, without the fibrous veins of older foliage. Now it is grape rolling season in the southern hemisphere.

Eight Tips for Preparing Perfect Stuffed Grape Leaves

1. Select young grape leaves. These can be stored in the freezer for later use. If not available, buy cured grape leaves, making sure to thoroughly rinse before using. These don’t usually need to be parboiled before use.

2. Fresh leaves need to be parboiled so they become pliable and easy to work with. Young leaves need only a quick dip in boiling water for them to be manageable.

3. The filling needs to have the correct proportion of herbs to rice. Too much herbs causes the stuffed grape leaves to lose volume after they are cooked. The end result will be a wilted, half filled grape leaf. I usually use one bunch of fresh herbs for every cup of rice. If more is used, they should be sautéed before adding to the filling.

4. Lay the leaf with the shiny side down. Put a small amount of stuffing in the center of the leaf, fold the sides over and then roll until a cigar is formed. If the leaf is not perfect, it can be patched with extra pieces of leaves. Lay the rolls seam down in a lined pot.

5. Don’t overstuff the leaves if using grains such as rice or bulgur as they will expand while cooking, bursting the roll.

6. Layer the bottom of the pot with extra grape leaves, sliced tomatoes or thinly sliced carrots.

7. It is a good idea to cover the grape leaves with a heavy, heat proof plate so the rolls don’t open. I usually pour boiling water on the leaves and cook on low heat from the beginning, avoiding vigorous boiling which can dislodge the leaves.

8. It is best to make stuffed grape leaves with a group of family or friends, the way it was meant to be done.

Kurdish Style Stuffed Grape Leaves

2 cups round rice such as Arborio rice, washed
3 green onions or 1 yellow onion, grated
Large bunch of dill, about 1 ½ cups
1 minced tomato, about 1 cup
2 ½ tsp salt
½ tsp pepper
4 tbs olive oil
75-100 fresh grape leaves boiled in water until they change color. If the leaves are old and fibrous boil them for 3-4 minutes to soften. If you use pickled leaves, soak them in copious amounts of water to remove the excess salt.

Sauce
Juice of two lemons, about ½ cup
4 tbs olive oil
Water to cover the grape leaves

For lining the pot you need sliced carrots, tomatoes or extra grape leaves. If using a low-sided pot (24 cm) this recipe is enough for two layers.

Combine all of the ingredients for the filling. The ratio between the uncooked rice and herbs should be about 1:1. Put a teaspoon of filling on the grape leaf close to where the stem was attached and roll. Arrange the grape leaves in the carrot lined pot, seam facing down. The leaves should fit snugly together to prevent them from floating when covered with sauce. Pour the lemon juice and olive oil over the leaves and add just enough water to cover the leaves. Use a plate to keep the leaves in place, boil then reduce heat to a simmer. Cover the pot and cook for another 30 to 40minutes, let stand 1 to 2 hours covered. They taste better the following day when the flavors have a chance to mellow. Serve on a bed of labneh with toasted pinenuts.

Wednesday, November 17, 2010

Brown Rice and Two-Bean Salad with Chili-Lime Dressing

Years of being a vegetarian have taught me the basic essentials of a balanced meal: in rough proportion and description of value, a serving of legumes and whole grains for proteins, minerals and essential fatty acids, and a serving of fresh vegetables for vitamins and fiber, with a few good fats from whole dairy products or olive oil thrown in.

When time is in short supply, it is always nice to be able to combine these essentials into one dish. But flavour never needs to take a back seat to nutrition, ease or convenience, and summer and autumn weather trips down the aisles of fresh local produce always provide inspiration for cool and refreshing salads that can easily be considered complete meals in themselves. This Mexican-style brown rice, chickpea and black bean salad loaded with fresh green beans, pepper and corn and spiced up with a zesty chili and lime dressing is a perfect example of taste, wholesome eating and simplicity in one balanced meal.

Adapted from Canadian Living Magazine.
Brown Rice and Two-Bean Salad with Chili-Lime Dressing

Salad:

1/2 cup dried chickpeas
1/2 cup dried black beans
1/2 cup dried brown rice
1/2 pound green beans, trimmed and chopped
1/2 cup fresh or defrosted corn kernels
1 red bell pepper, seeded and chopped
2 jalapeño peppers, seeded and minced
2 green onions, sliced
small handful fresh coriander, chopped


Dressing:

1/4 cup olive oil
juice from 3 limes
rind from 1 lime
2 teaspoons chili powder
1 teaspoon sea salt


Separately, rinse the chickpeas, black beans and brown rice under cold running water. Place in separate bowls and cover the chickpeas and black beans with several inches of cold water with a little yogurt whey or lemon juice added. Cover the brown rice with 2 cups of cold water. Let the chickpeas, black beans and brown rice soak overnight at room temperature.

Drain and rinse the chickpeas and black beans separately. Add each to separate small saucepans and cover with several inches of fresh cold water. Bring each to a boil, then reduce the heat to low, cover, and simmer until tender — about 30 to 45 minutes for the black beans and about 1 to 1 1/2 hours for the chickpeas. Drain and set aside to cool.

Meanwhile, bring the brown rice with its soaking liquid to a boil in a small saucepan. Reduce the heat to low, cover, and simmer for 40 minutes or until the water is absorbed. Remove from heat, fluff with a fork, and set aside to cool.

Place the cooled chickpeas, black beans and brown rice in a large mixing bowl. Add the vegetables and coriander and gently combine. Whisk together the dressing ingredients in a small bowl and pour over the salad. Gently toss to mix.

Serve at room temperature or cold. Serves 6 to 8.

Other salads you may enjoy:
Mexican-Style Black Bean and Millet Salad
Mexican-Style Kamut Berry, Black Bean and Roasted Corn Salad
Mexican-Style Potato Salad with Avocado and Jalapeños
Brown Rice with Lime, Cilantro and Jalapeño

On the top of the reading stack: Quinoa 365: The Everyday Superfood
Audio Accompaniment: Carbon Based Lifeforms

Memories of Ribollita, and by the way, did you notice my Printer Friendly button?

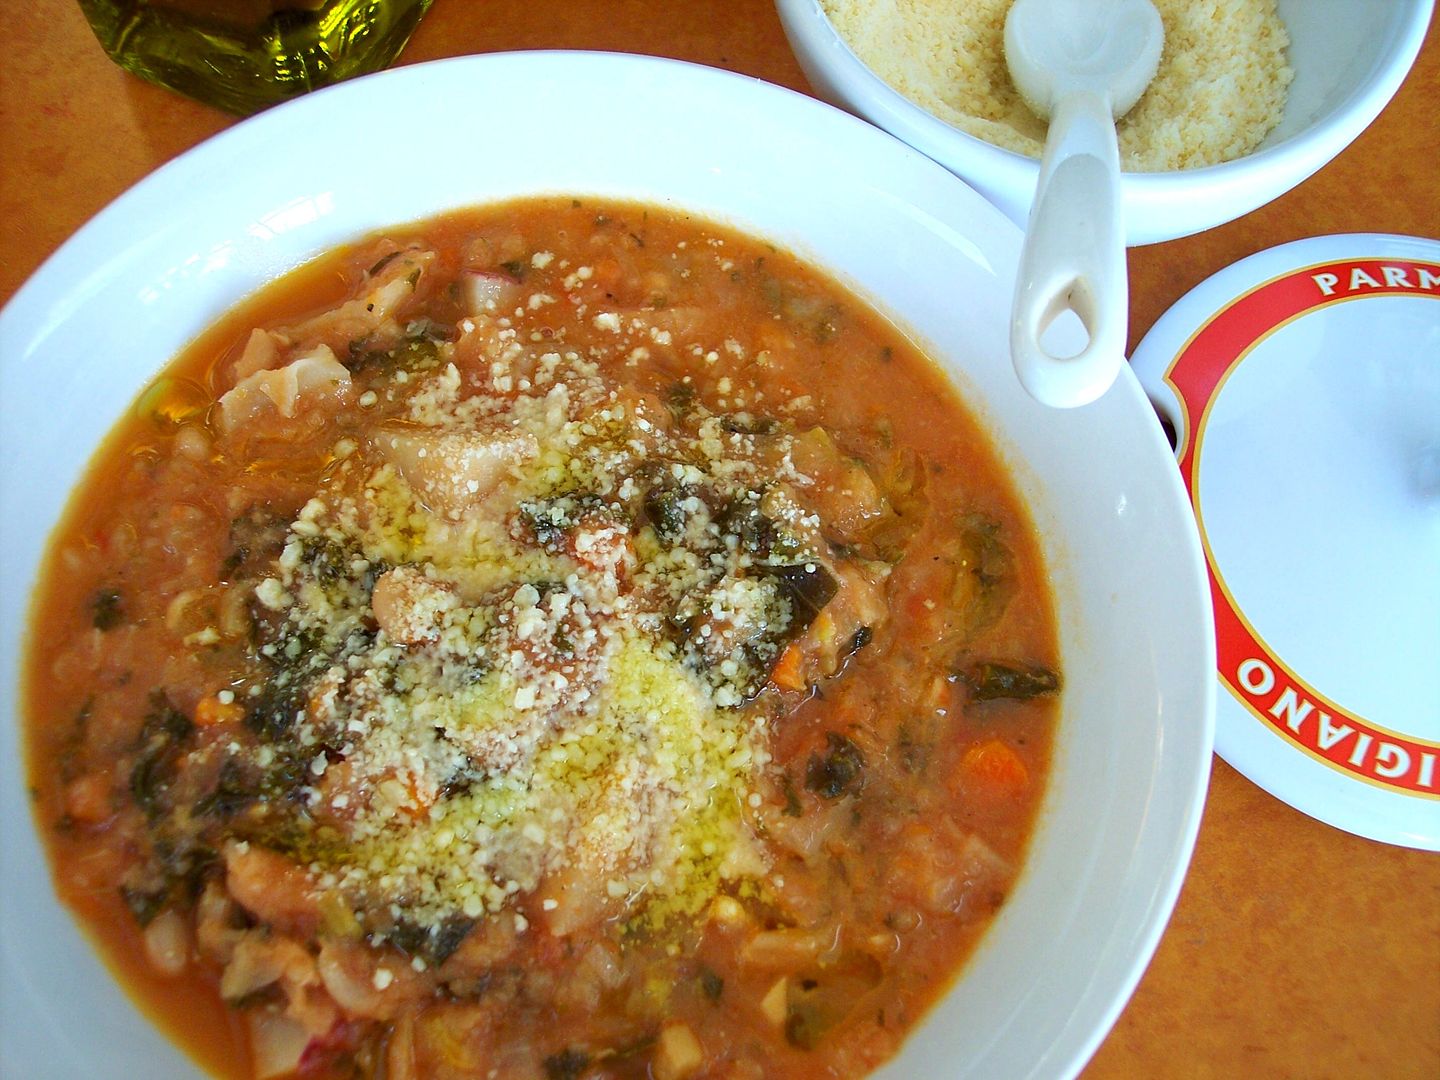
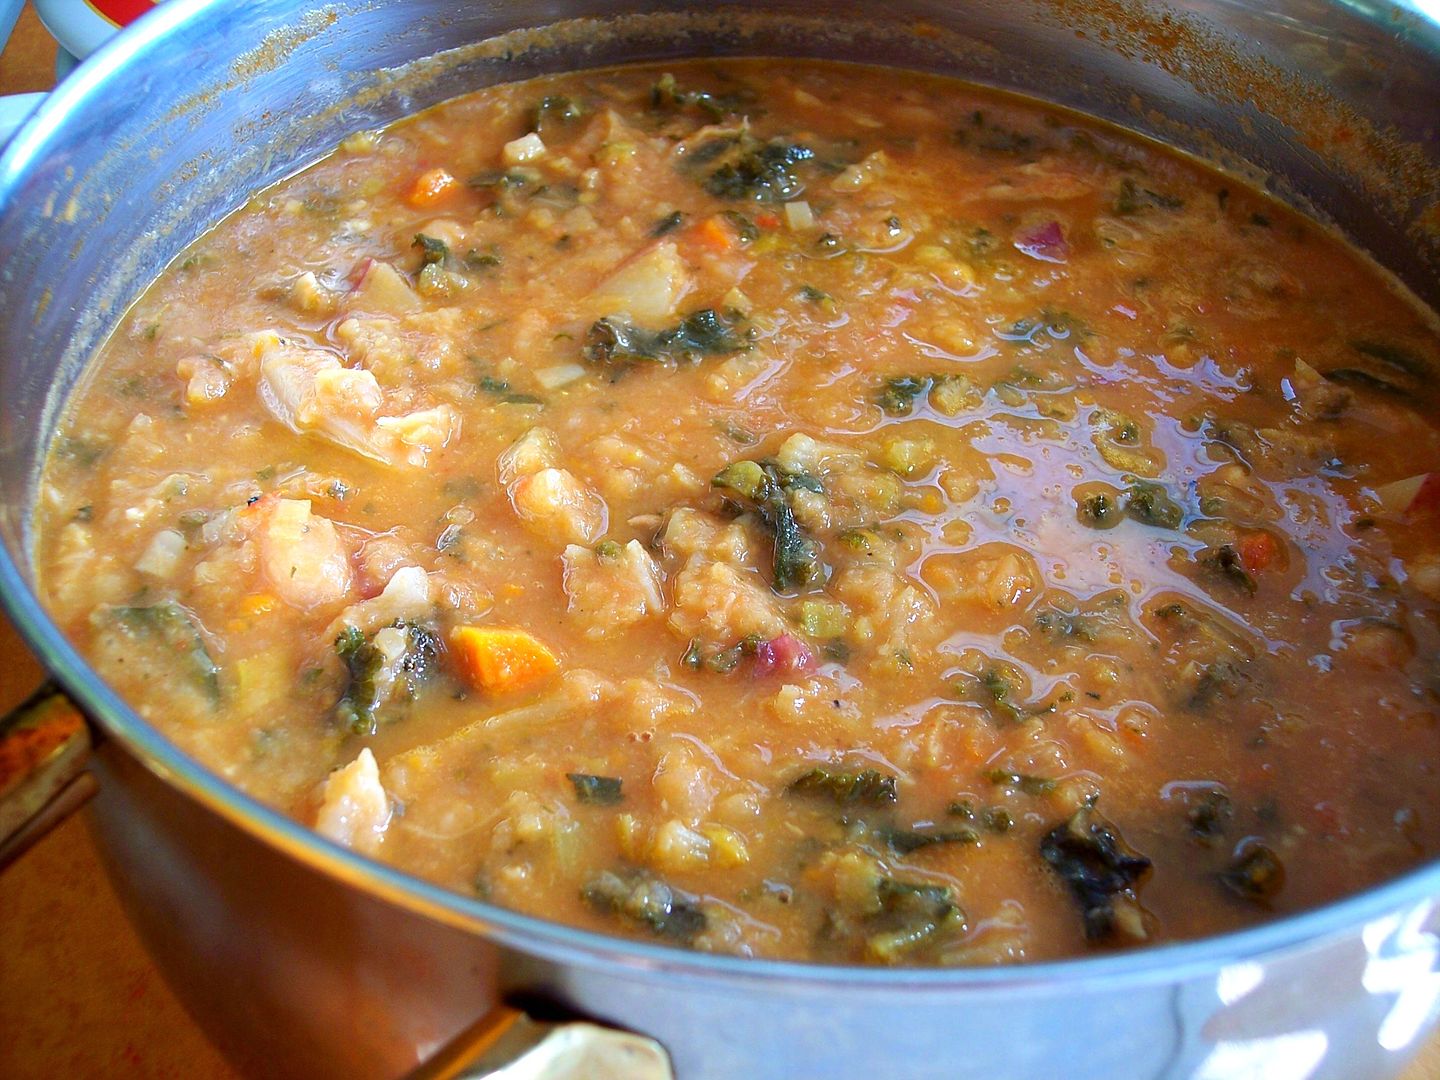
When we traveled to Florence years ago the food I remember most was ribollita, it's a thick and creamy soup with many variations but the main ingredients always include leftover bread, cannellini beans and inexpensive vegetables such as carrot, cabbage, beans, Tuscan kale, onions and a bunch of other things. It was originally made by reheating or reboiling the leftover minestrone or vegetable soup from the previous day. Ribollita is classic Tuscan peasant food.

I had the perfect opportunity to make this last week as we had relatives staying with us from sunny Florida, a big pot was waiting on the stove the day they arrived to warm them up and get them acclimated to our weather here.

My sister-in-law and I share the same fondness for ribollita, we would order it practically everyday when we were all in Italy together. Over the years we talked many times about making it ourselves but we never got around to it, but thanks to the Internet and a search for ribollita I was able to come up with a great recipe by combining a few that I saw.

They recently traveled back to Florence to celebrate their 40Th anniversary so the taste of ribollita was fresh in their mind, I have to say she was raving about my ribollita so I know it had to be pretty good.

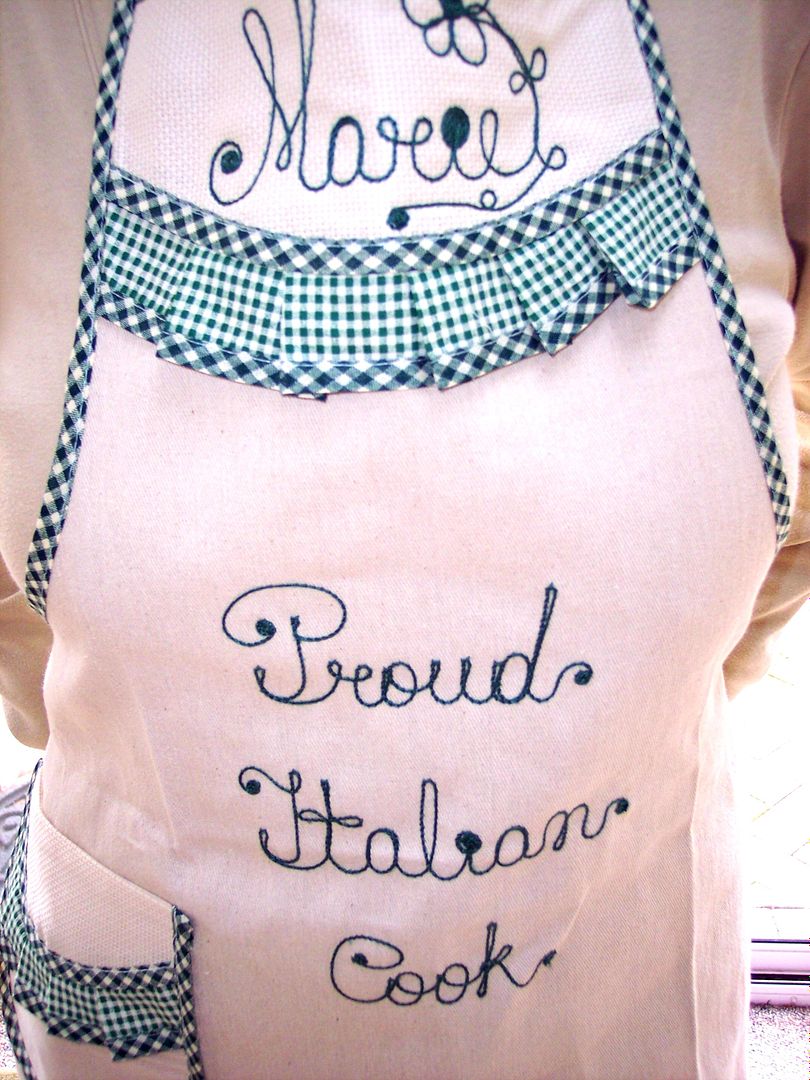
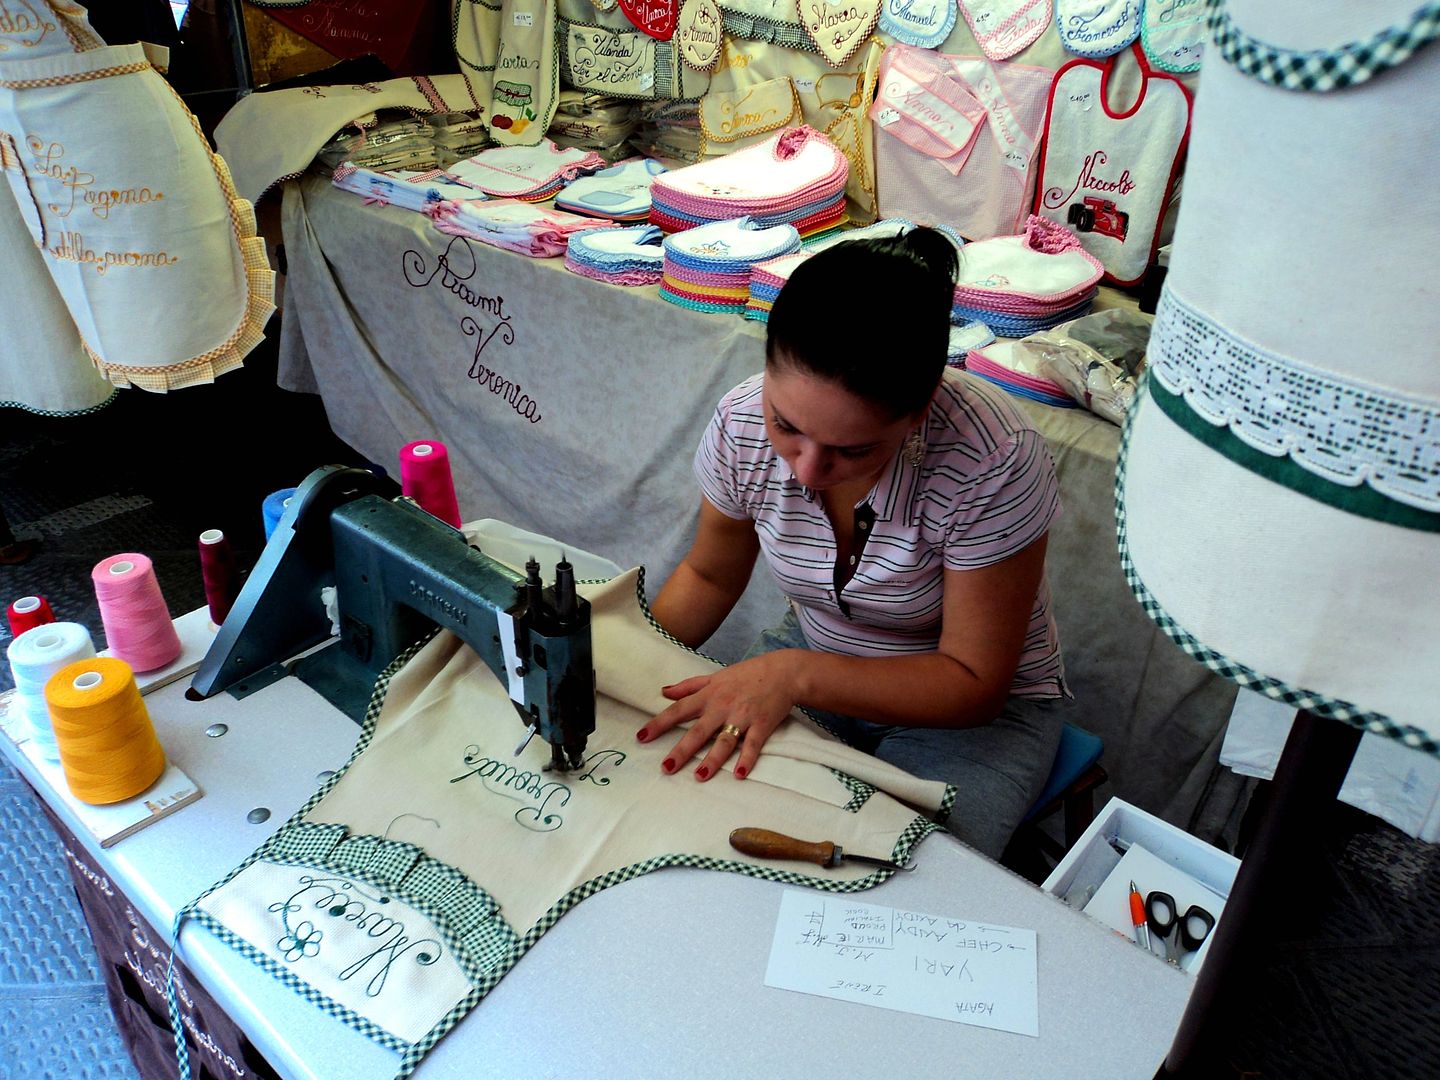
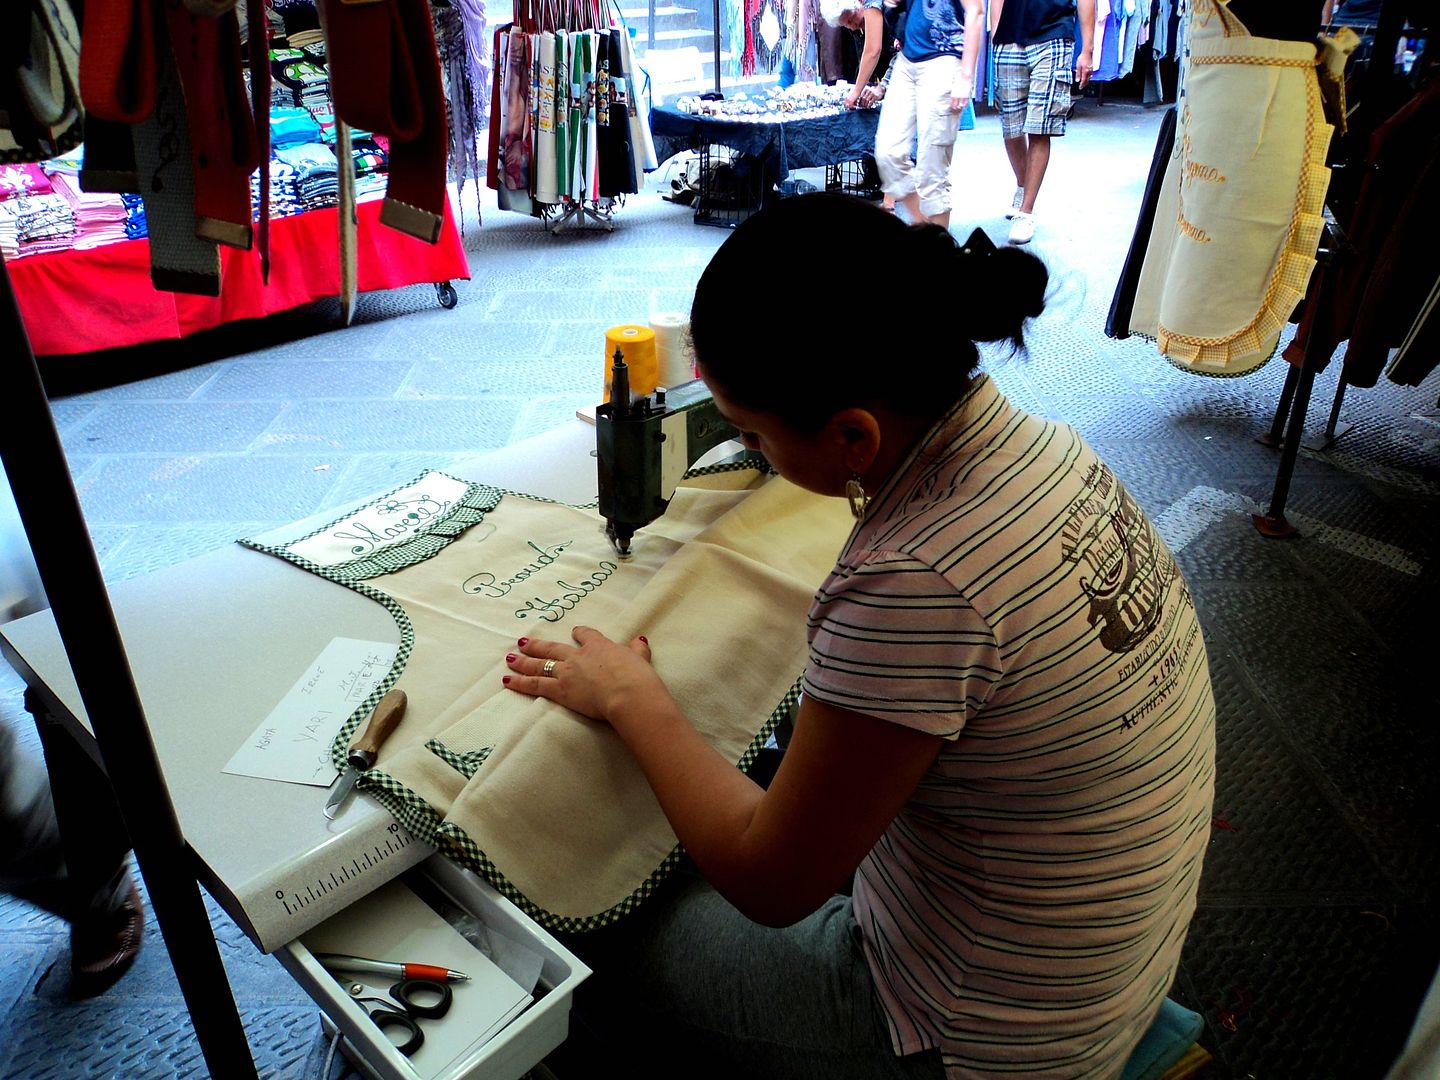
They surprised me with this beautiful apron they had embroidered in Florence at the San Lorenzo Market, I love it!

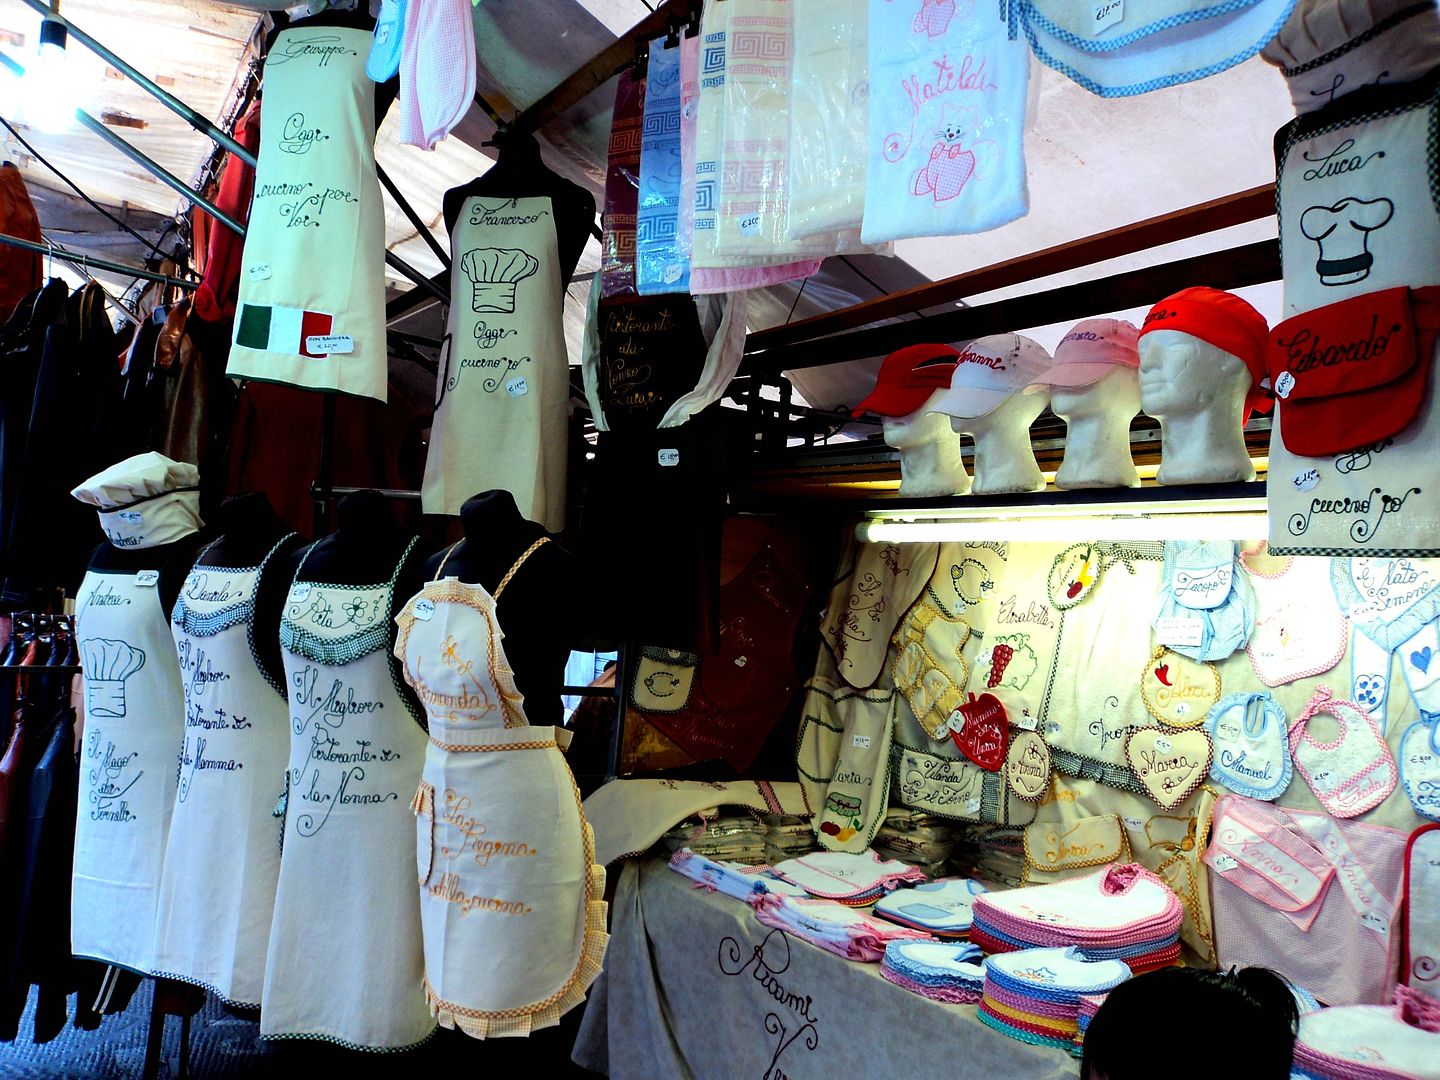
Wouldn't this be the perfect gift for all your foodie friends? Check out those baby bibs and chef hats, I love personalized gifts!

They said it didn't take very long to make my apron maybe about 15 minutes or so, the machine did it really fast.

I'm so glad they thought of taking photo's so I could actually see it being made.

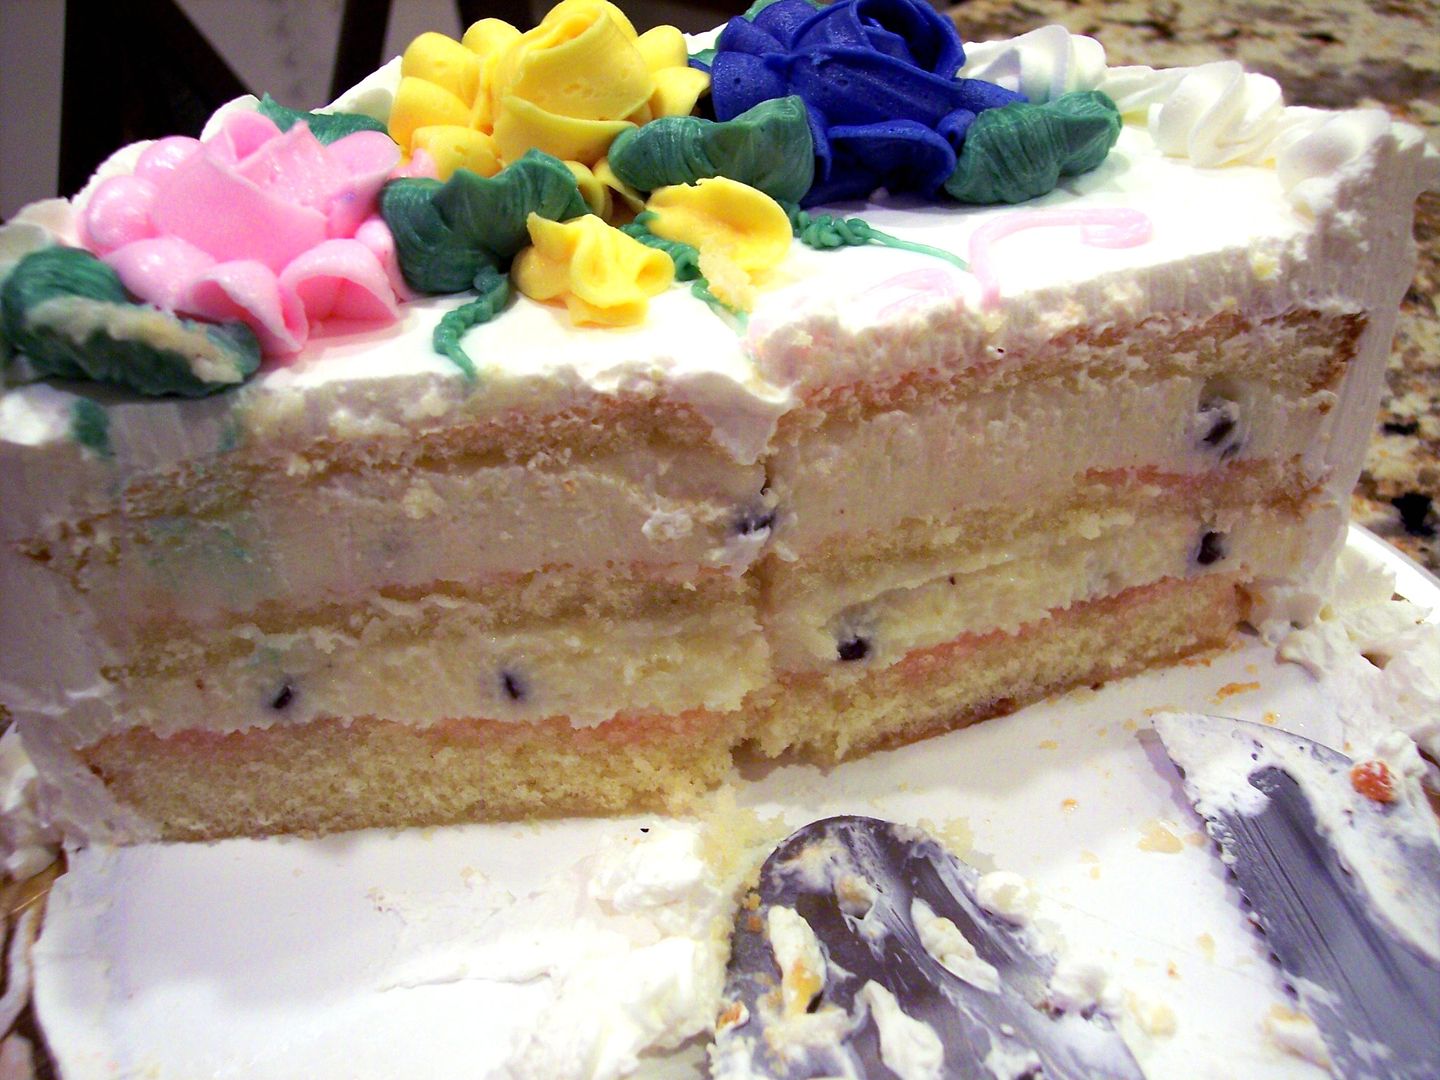
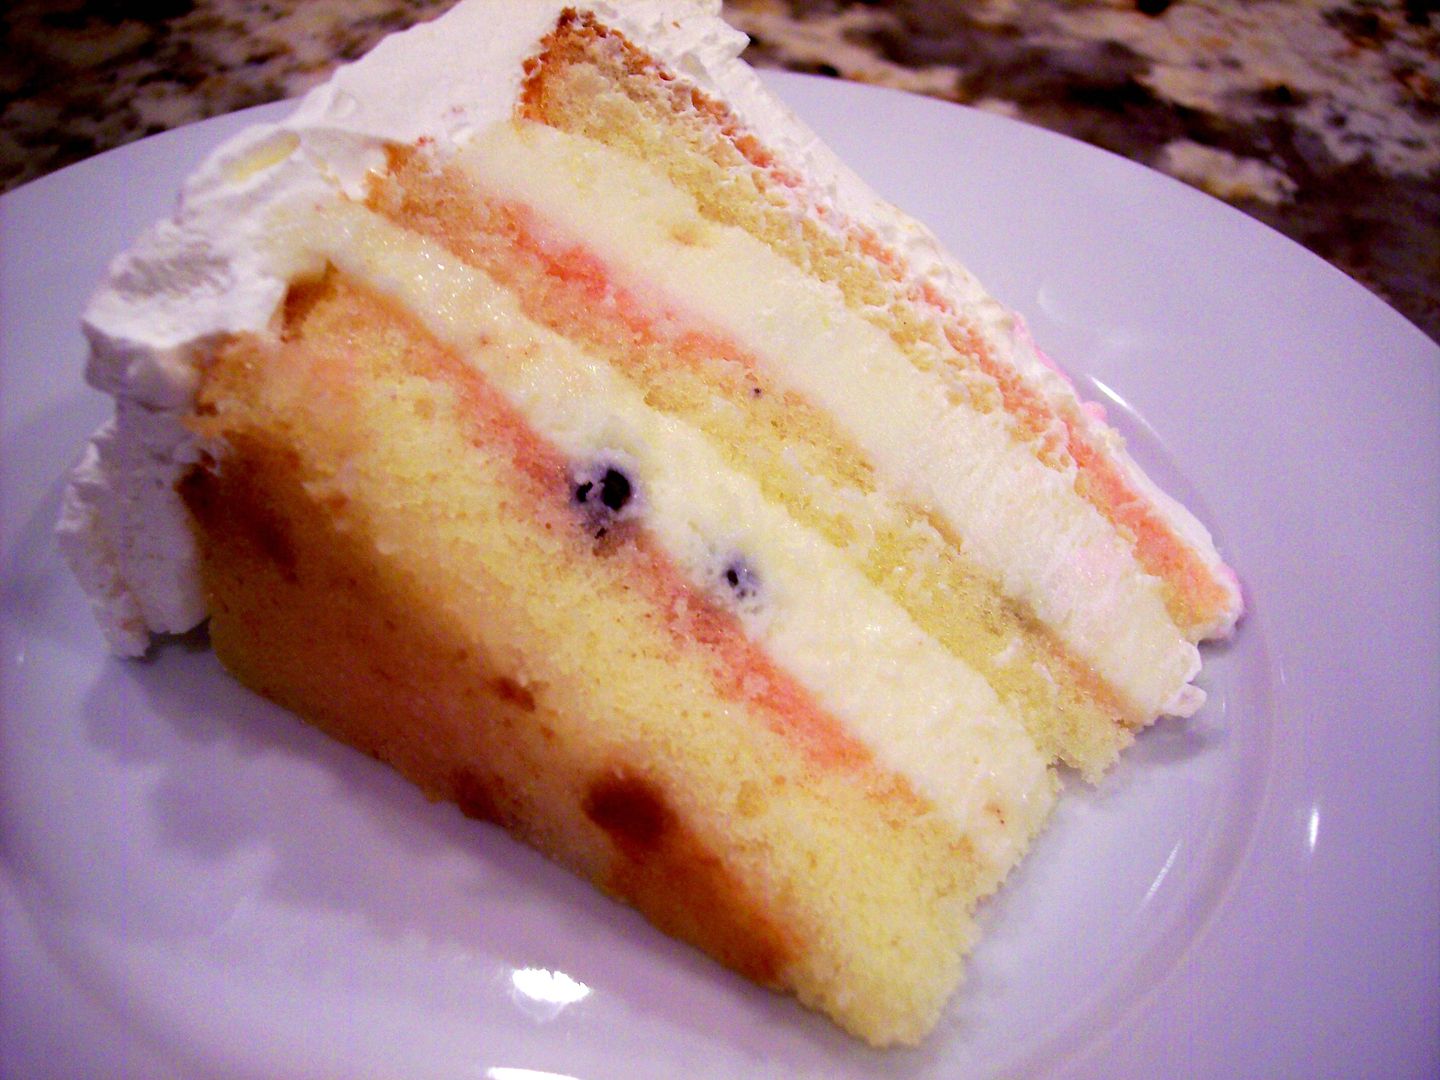
Of course what would a visit to Chicago be without having some cannoli cake in the mix? It was my sister-in law's birthday while she was here so this was the perfect dessert, it's consistently amazing every time we order one from our favorite Italian bakery!

Sponge cake bathed in rum and layered with fresh cannoli cream surrounded in whipped cream, oh so good, but that's another blog post alltogether!


Before I give you the recipe for ribollita I have to thank my brother-in-law John for installing the Printer Friendly button for me, I tried to do it several times myself and chickened out each time being in fear of the dreaded HTML. To the many subscribers and readers who personally wrote me asking me to do this I just want to say thank you for your patience, you're going to love this feature, so easy with just a click you can take out the photos and just print the text only, try it, you'll like it! I really feel like I finally entered the 21st century!
Additional note to my subscribers: Because you're just receiving a feed through email, ( which is not my actual blog) you will have to come over to my blog site to use the print friendly button, you will see it at the bottom of each of my posts. My blog address is www.prouditaliancook.blogspot.com.

Ribollita
Ingredients:
8 to 10 cups of chicken/ vegetable stock
1 chopped onion
2 carrots chopped
1 large celery celery stalk with greens chopped
1 head of dark kale sliced thin
6 cloves of chopped garlic
1 fennel bulb chopped
1 or 2 leeks cleaned and chopped
2 cans of cannellini beans drained, by all means use fresh if you want.
2 diced red potatoes
1/2 head of savoy cabbage sliced thin
1 large zucchini chopped
2 cups of diced canned tomatoes
Day old bread, (optional)
A generous handful of grated parmesan cheese
1 parmesan rind, (they sell the cheesey rinds at my Whole Foods, I pick some up everytime I go there and stick them in my freezer for soups all winter. If you can't find them just add more grated cheese.)
Fresh rosemary, thyme and red pepper flakes, you could also add sage, plus salt and pepper to taste.

Here's what you do:
1. In a large stock pot nicely drizzled with olive oil saute all your vegetables until slightly soft, then add in herbs and red pepper, next pour the stock in and add the cheese rind.
2. After it starts to boil let it simmer for a good 45 minutes then add beans and simmer a few more minutes. At this point I like to taste and add, maybe more pepper, rosemary, thyme, olive oil, or grated cheese, you be the judge.
3. I took my immersion blender and blended half of the pot, it renders a nice smooth yet still chunky consistency. I did not add the the day old bread into my soup I felt it didn't need as it was super thick, feel free to add it if you wish especially if you don't use an immersion blender.
Ladle soup into bowls and drizle olive oil on top along with grated cheese, this is comfort food at it's best!
Enjoy and Buon Appetito!